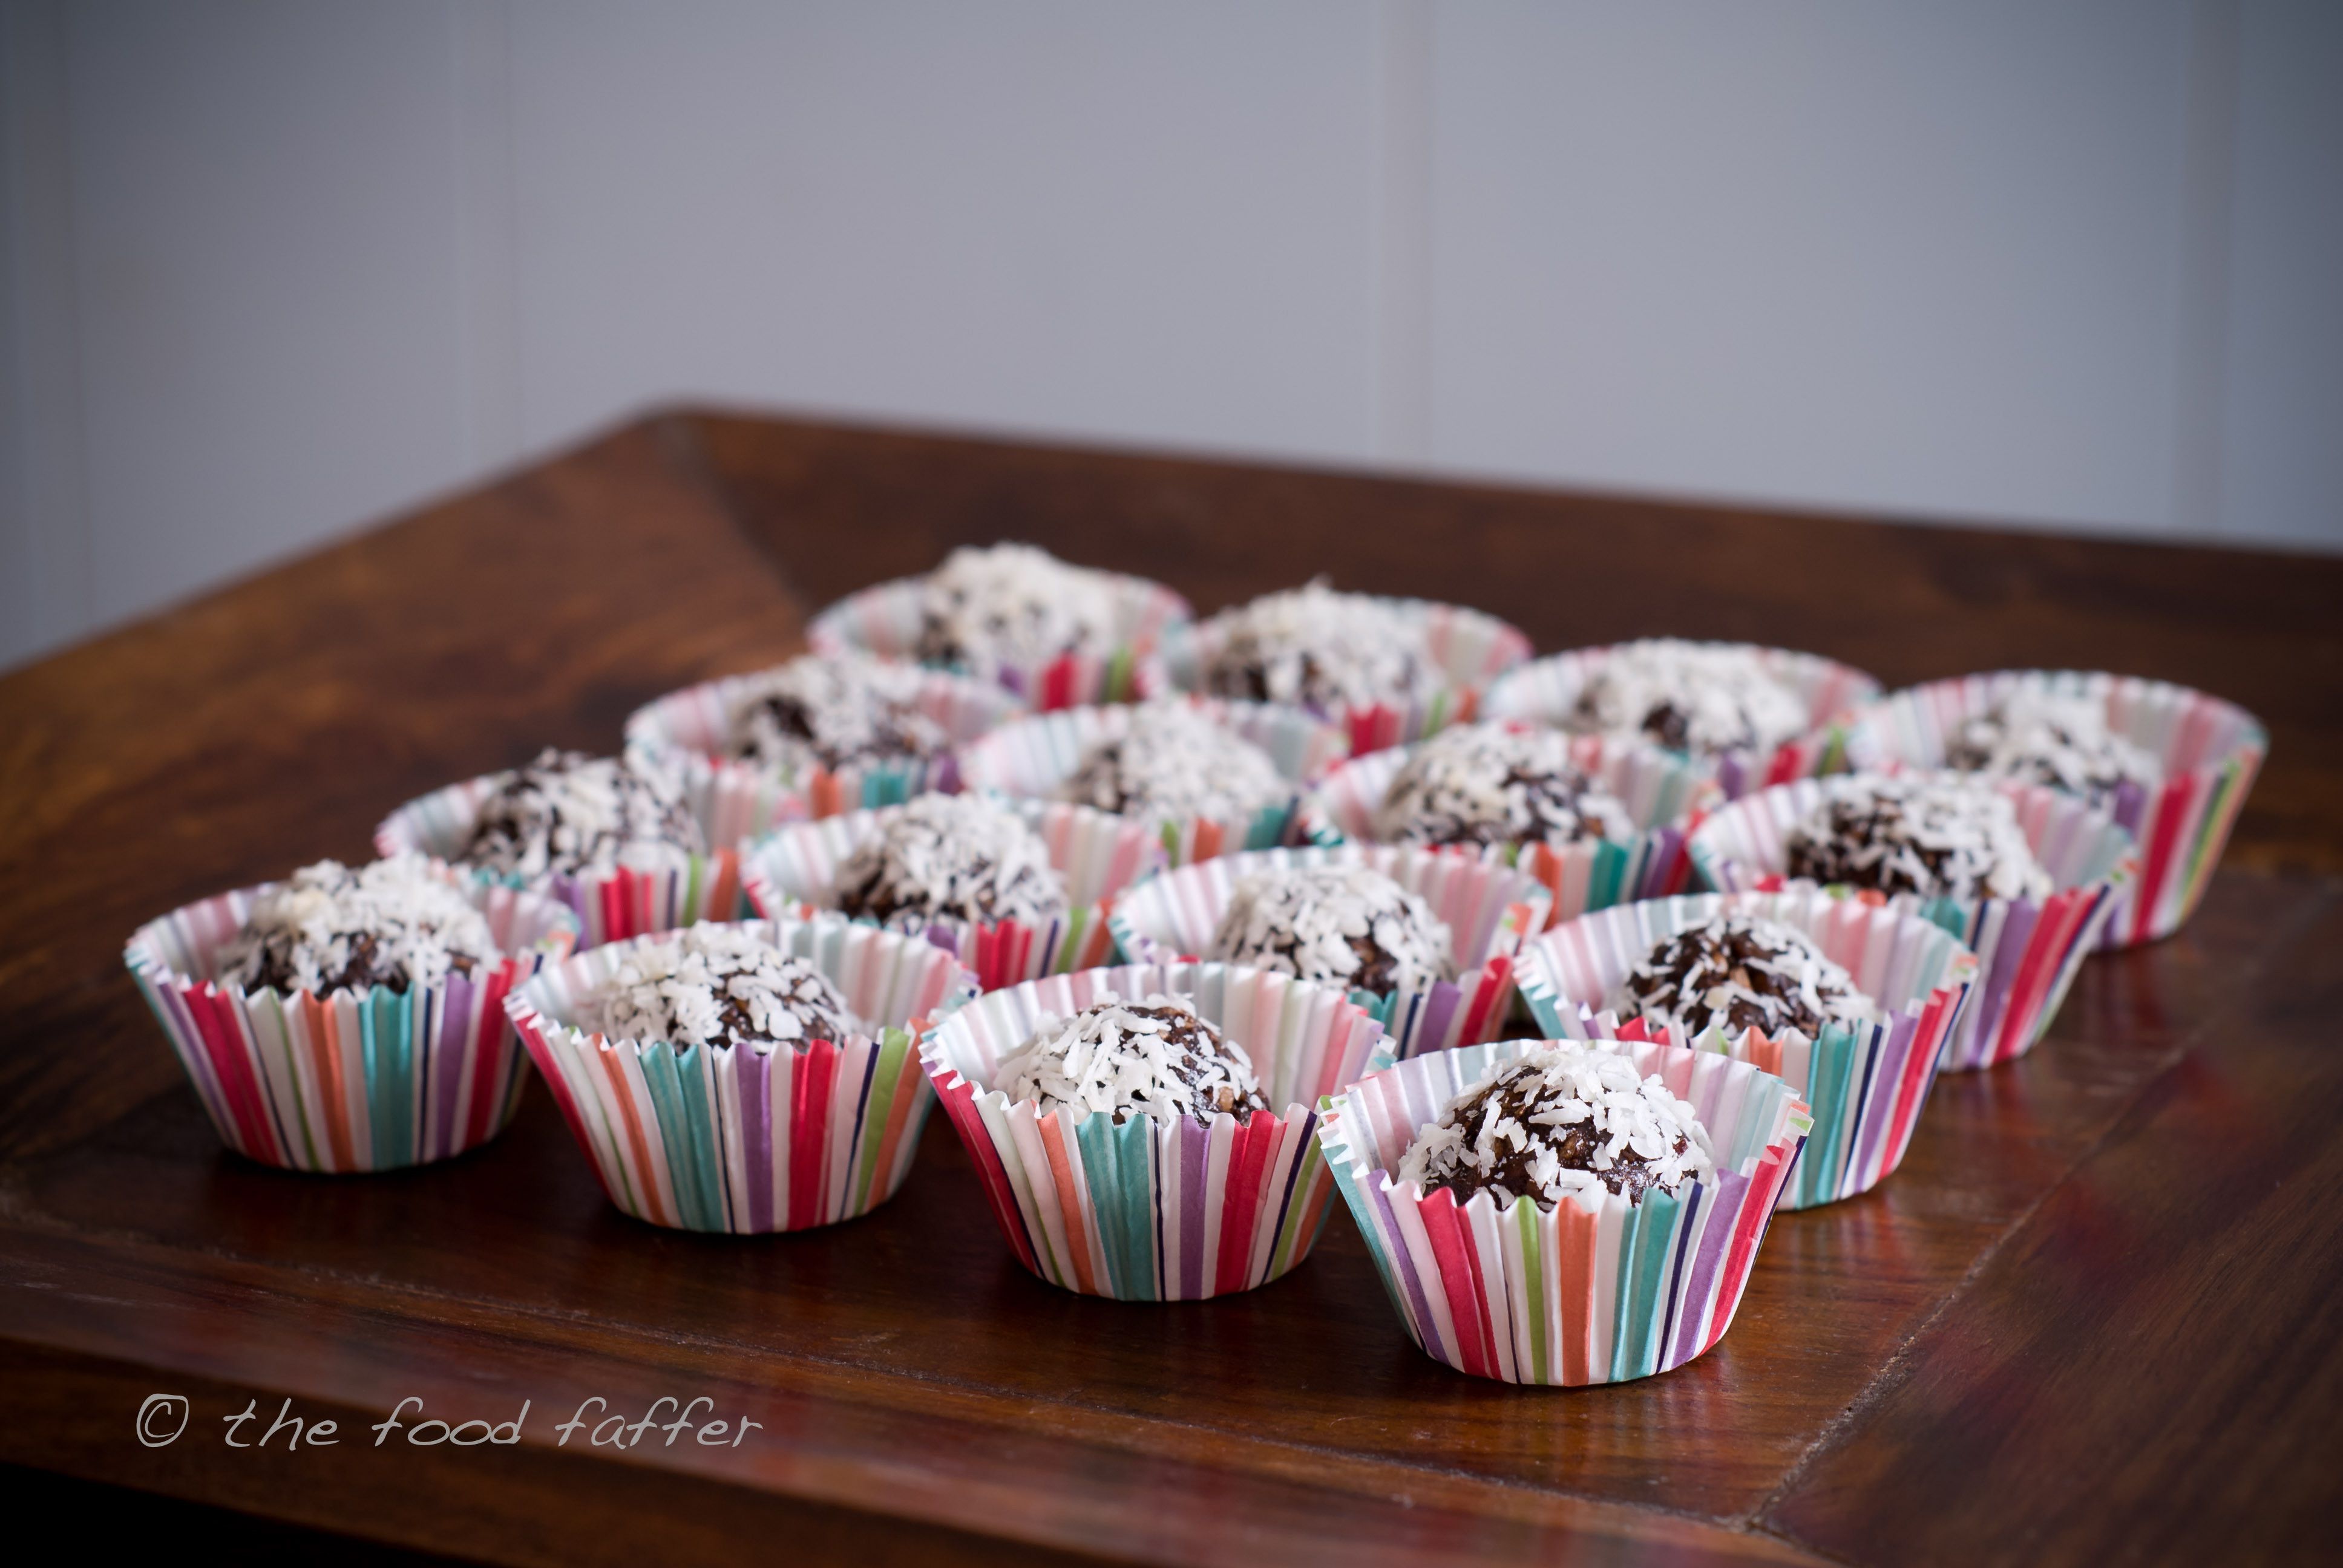
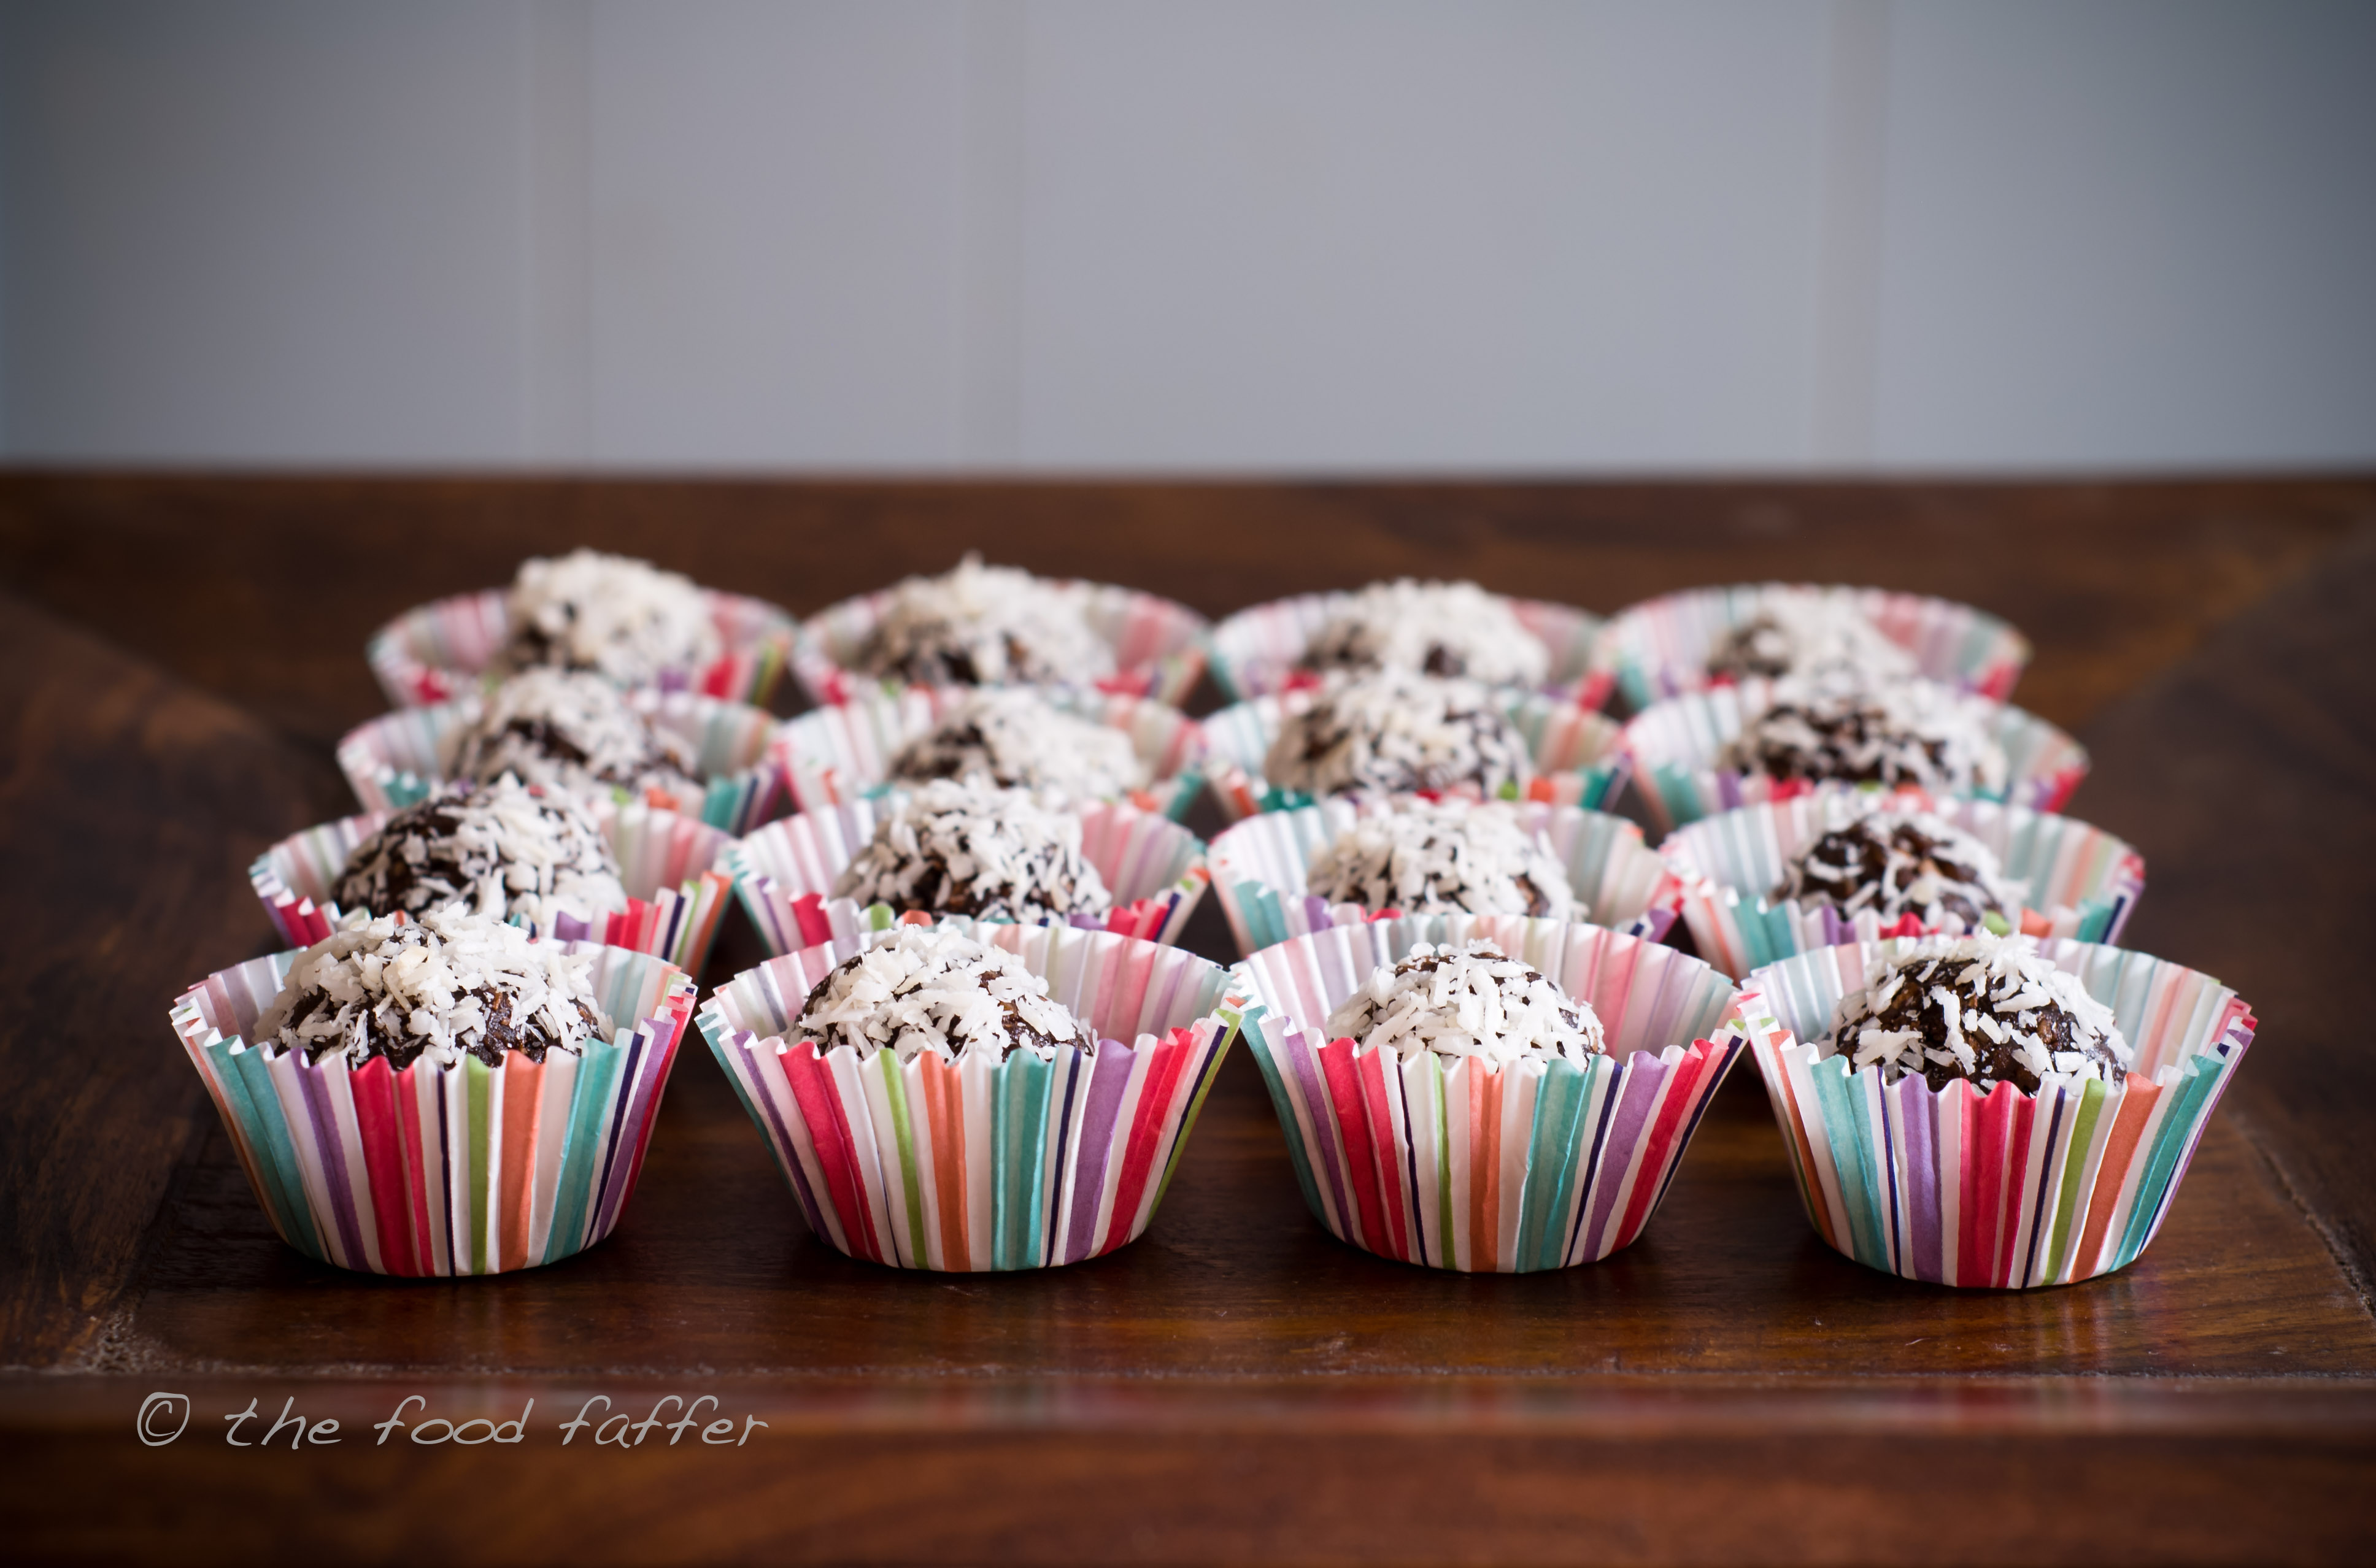
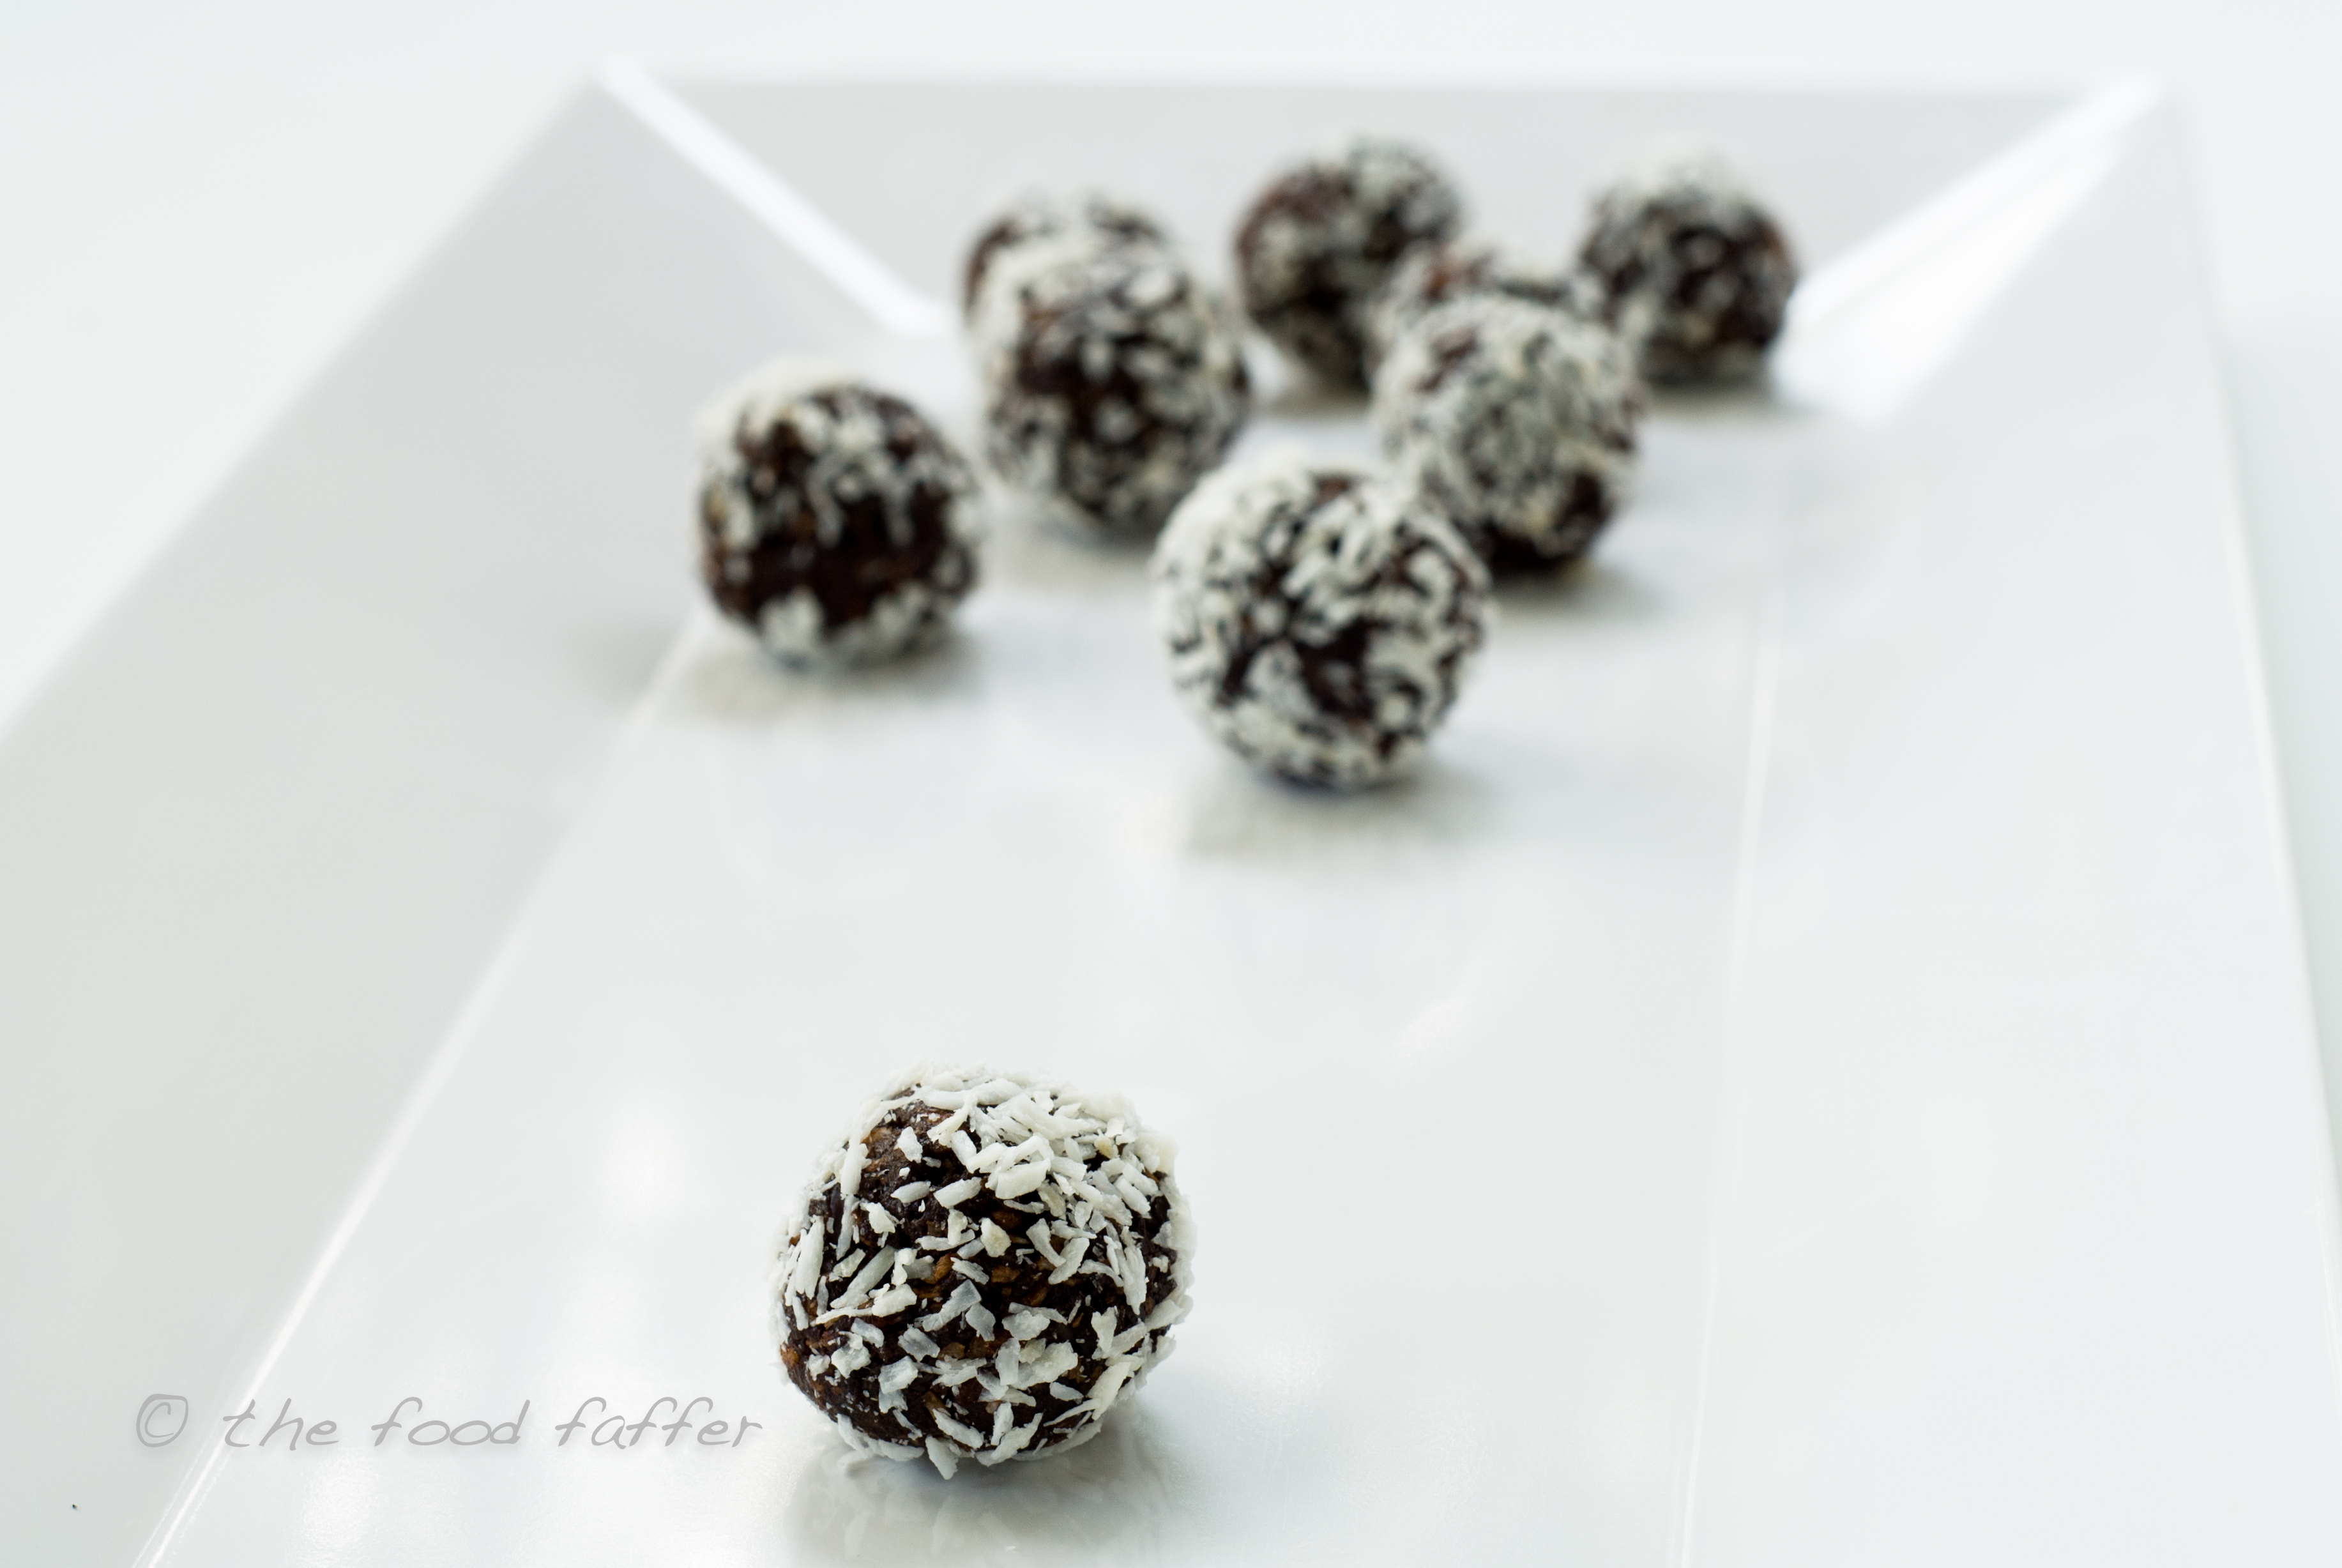
Healthy Chocolate Coconut Truffles
To give you an idea of how good these are, this is possibly the most-requested recipe I’ve had in a long time. Seriously, these things are insanely good!! Who knew you could put just three healthy ingredients together and end up with such a bundle of yumminess?? I didn’t even know that I like dates… but even if you’re not sure about them, it’s the intense chocolate that makes these scream “EAT ME!!!”. 😀
Speaking of which, I remember when I was a kid, my two sisters and I would buy our dad a pack of “Eat Me” dates for Christmas every year. (Does anyone else know what I’m talking about? Are they just a UK thing?) He was the only date-eater in our house, and I think Christmas was the only time he had that privilege. If only I’d known back then what these things could be turned into!!
Peet and I have been trying to eat healthy for this past wee while… which has been easier to do with actual meals than it has with snackies. There’s only so much hummus and veggies a person can eat, right? And what happens when you have that sweet craving, and you desperately try to pretend cookie dough doesn’t exist in the world?
Cue the little round balls of deliciousness that are about to enter the stage of your life!! (I’m trying to give them a dramatic entrance, but I don’t think it’s working.)
Anyway, these things have to be tasted to be believed. Pleeeeeeeeease don’t disregard this recipe simply because it has dates in it (as I would’ve done in my former life). If you like chocolate and coconut, these are gonna change your snacking world… and your body will thank you. Or me. You’re welcome.
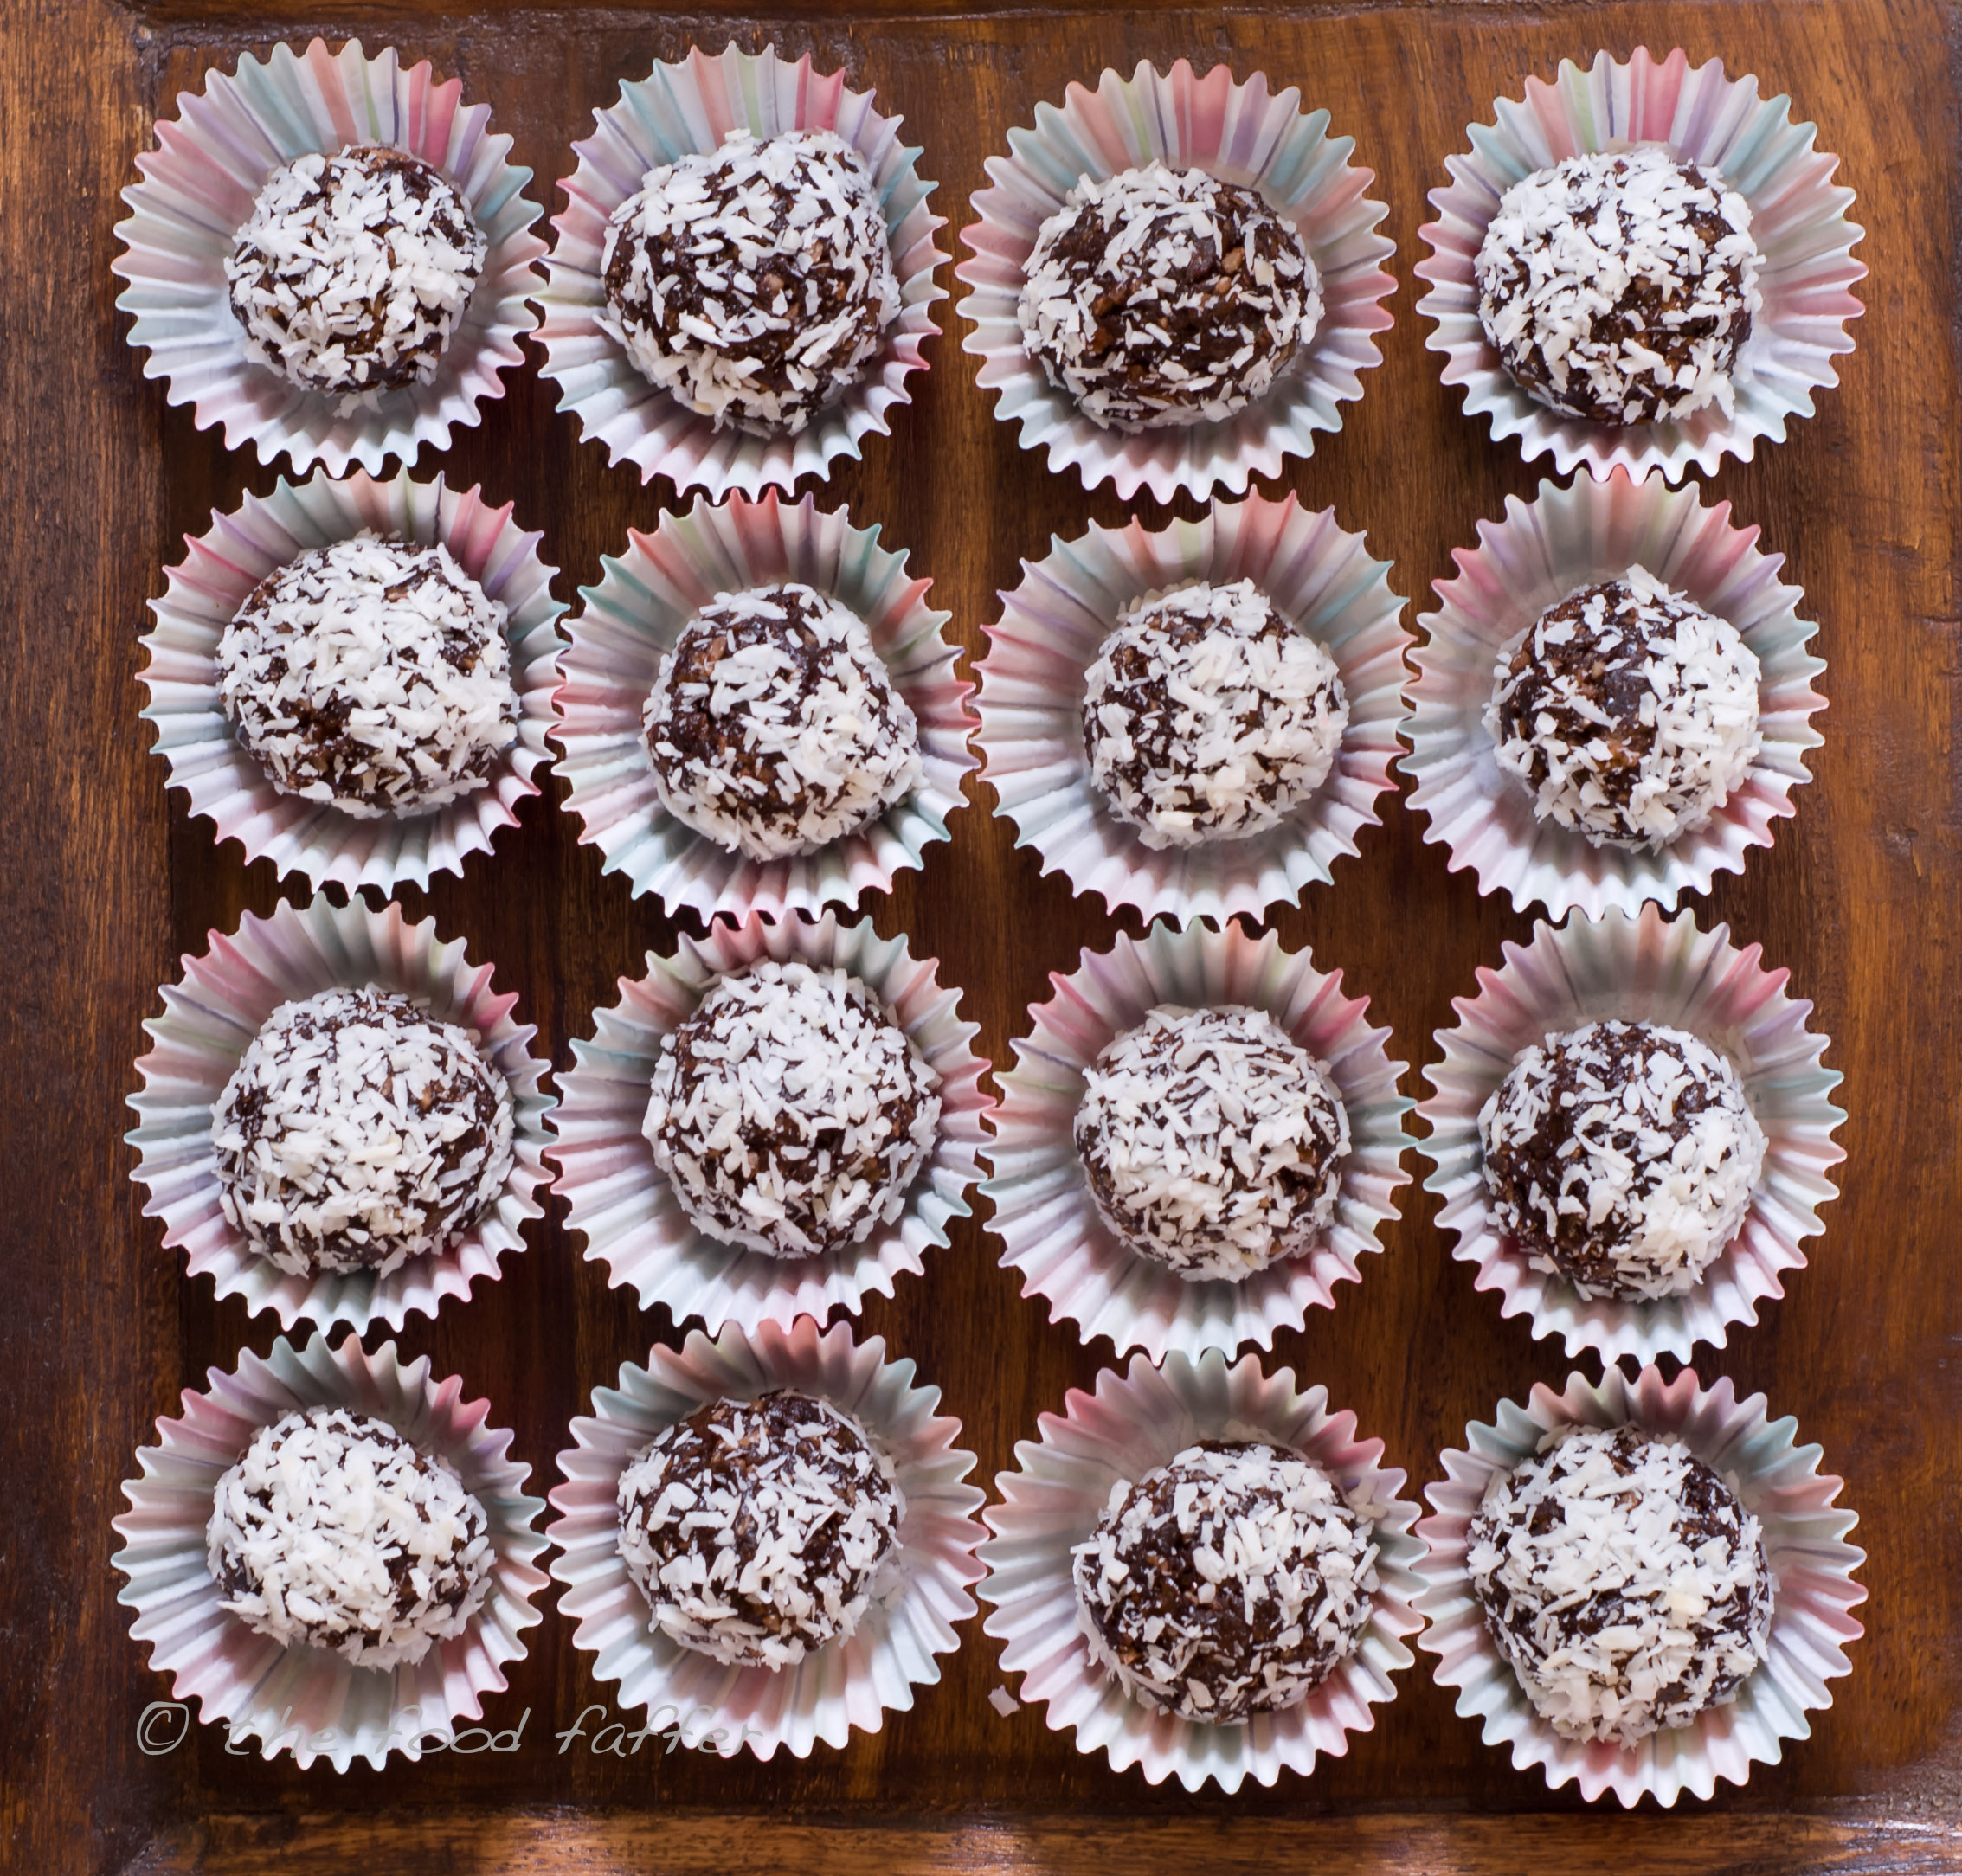
Healthy Chocolate Coconut Truffles
(Makes 20)
(From Alida’s Kitchen, with a very minor tweak…)
8oz pitted dates (approx 1 ½ cups)
3 tbs Dutch-processed cocoa powder (or regular cocoa powder works fine, too)
3 tbs unsweetened flaked or shredded coconut, plus extra for rolling
- Put dates, cocoa and 3 tbs coconut in a food processor and blitz it until everything is pulverized and blended together.
- The mixture should be sticky enough to easily roll into balls, but not so sticky that it’s wet. If it’s too dry and crumbly, add water by the teaspoon while blitzing (I generally need 2-3 tsp). If it’s too wet (or if you added too much water!!) add some extra coconut.
- Grab tablespoonfuls of the mixture and roll them into balls (a cookie scoop works great).
- Roll the balls in the extra coconut, pressing gently if it needs some help sticking to the outside.
- Chill in the fridge until you’re ready to indulge.
Enjoy!!