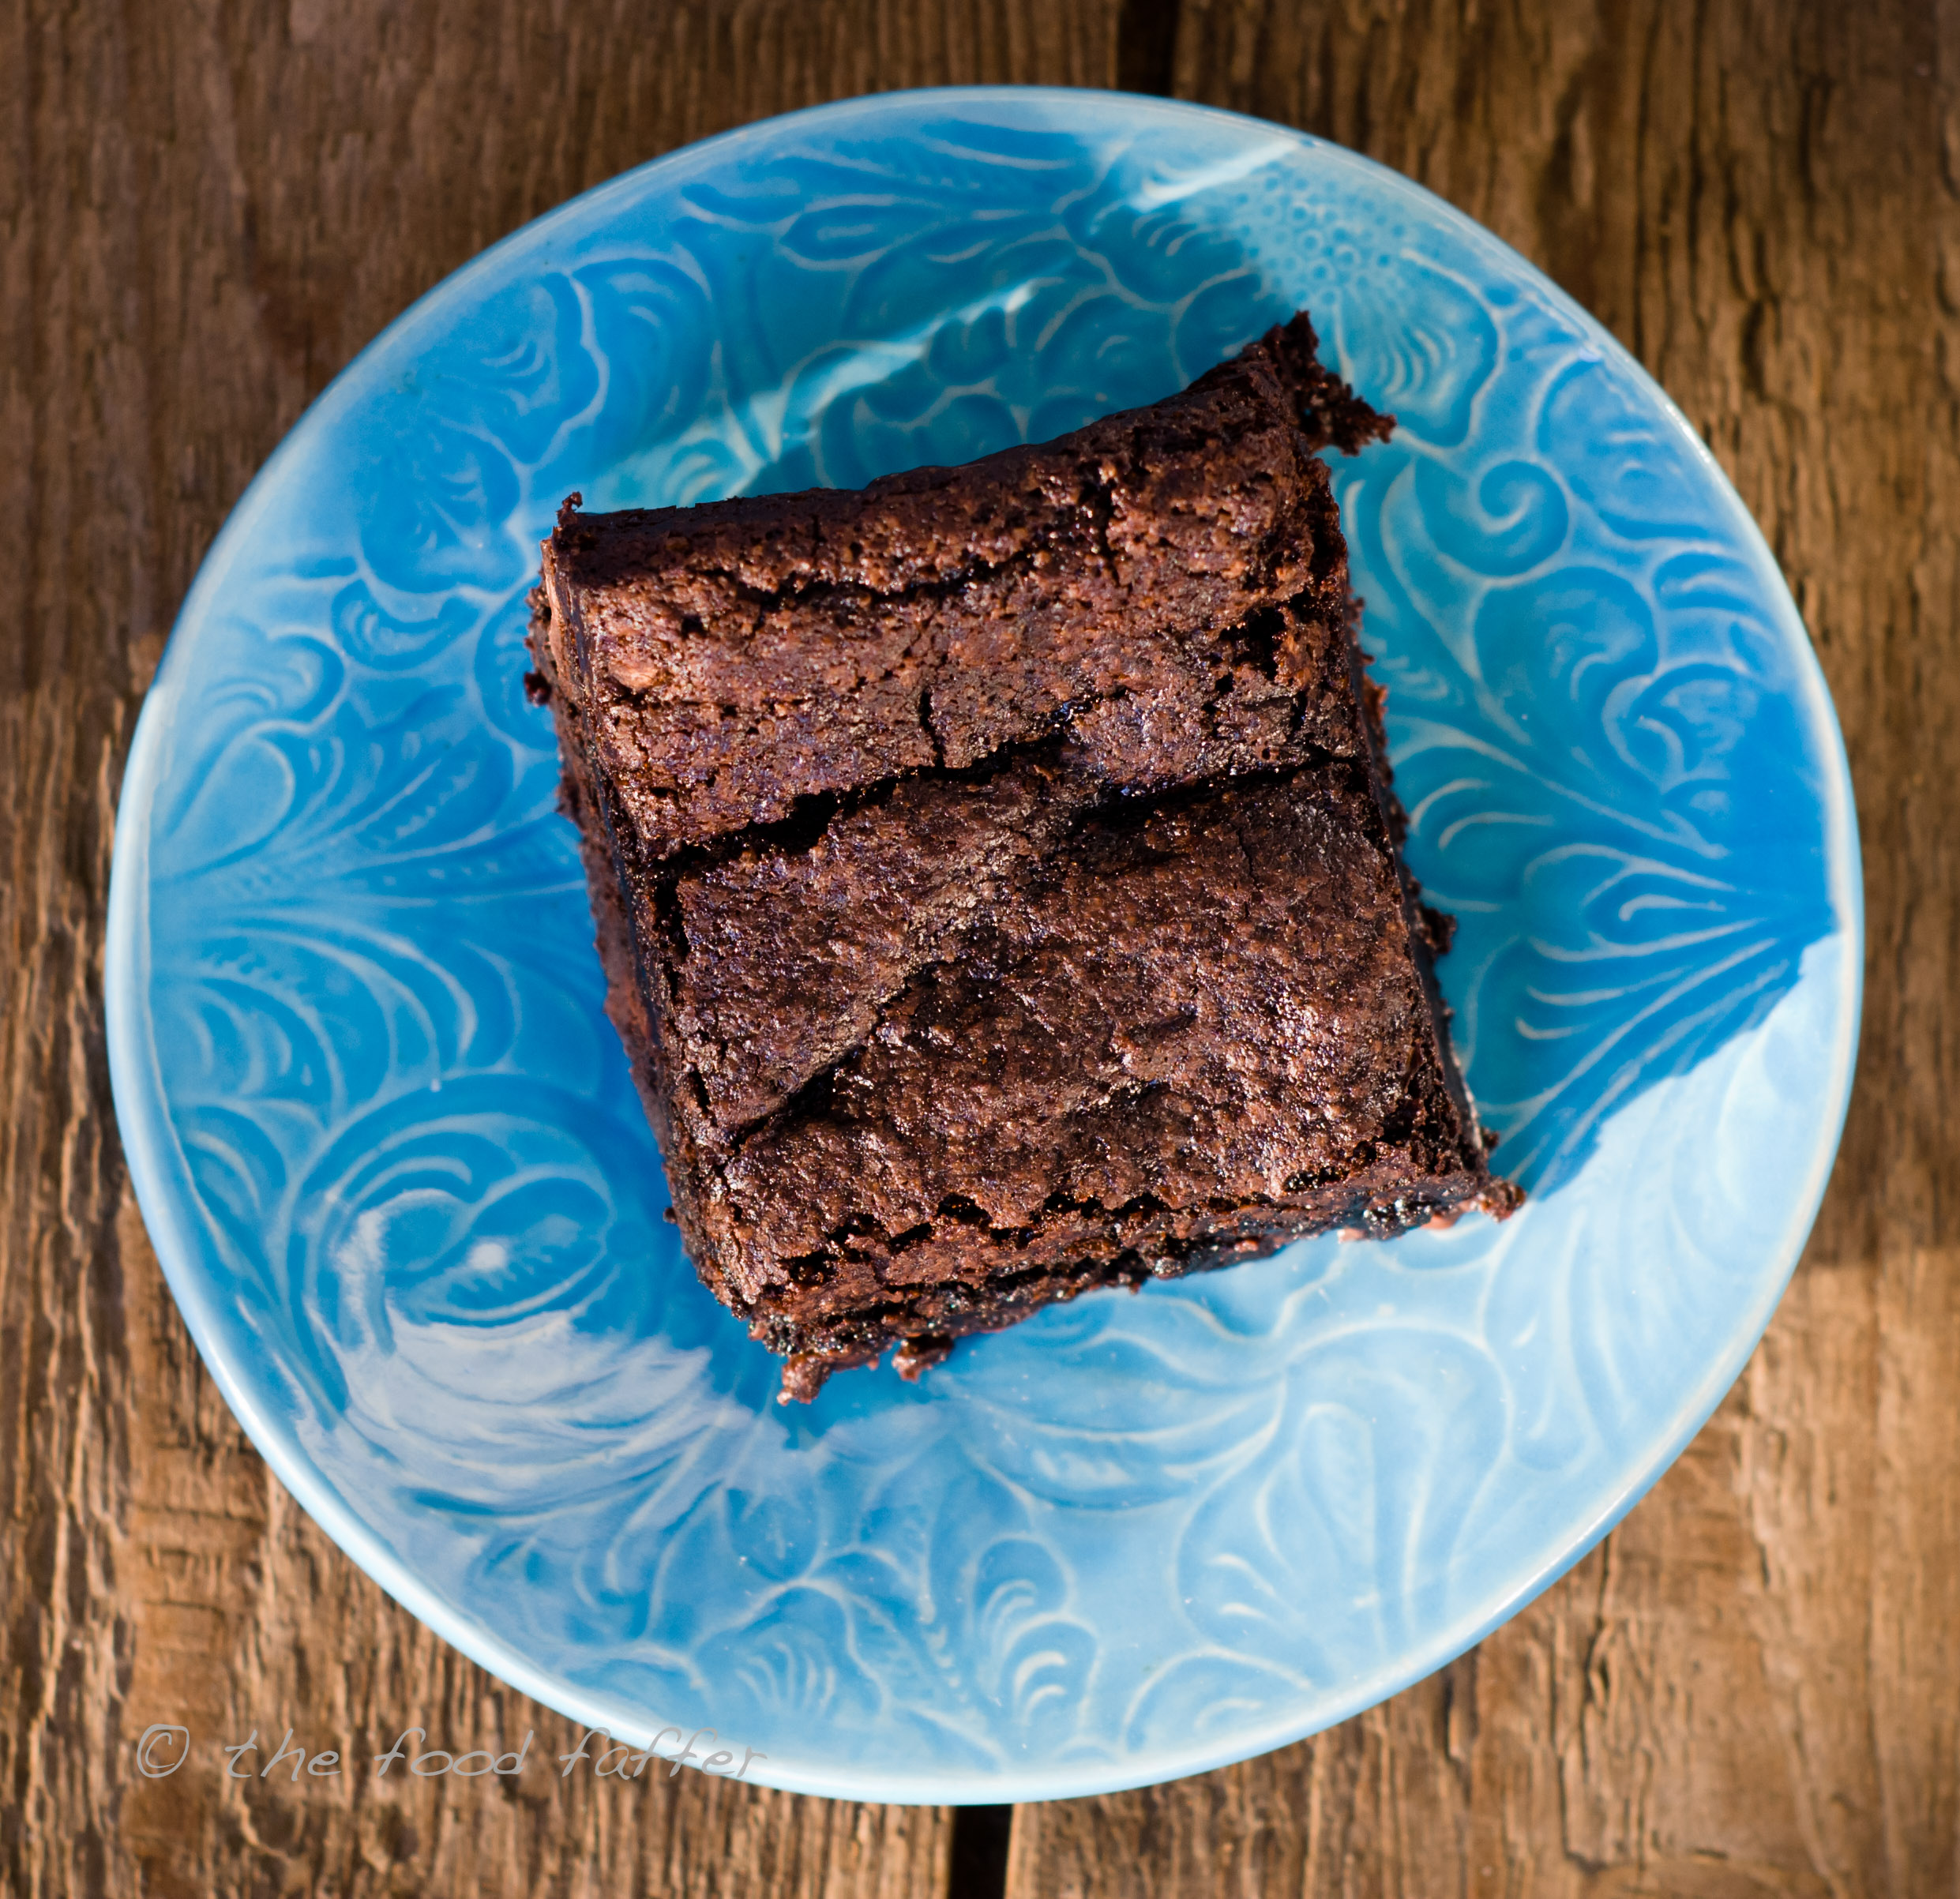
Best Flippin’ Vegan Brownies
So, after a long break from blogging… I’m back. And what is it, I hear you ask, that had the ability to pull me out of my deep, dark cave of procrastination? The humble brownie. Well, I say “humble”… but this version would fit better in the “rich”, “decadent”, “noble”, “exalted” categories. Oh, and did I mention that they’re gluten-free, dairy-free and egg-free?? That’s right: they’re healthy!! That little fact alone justifies me having made a double batch of these puppies not once, not twice, but thrice in the past week!! Usually, I’d simply wave my “research” flag while making such a confession… but they’re so good (and sooooo healthy!!), I don’t even care if you judge me for my week of over-the-top-brownieness!!

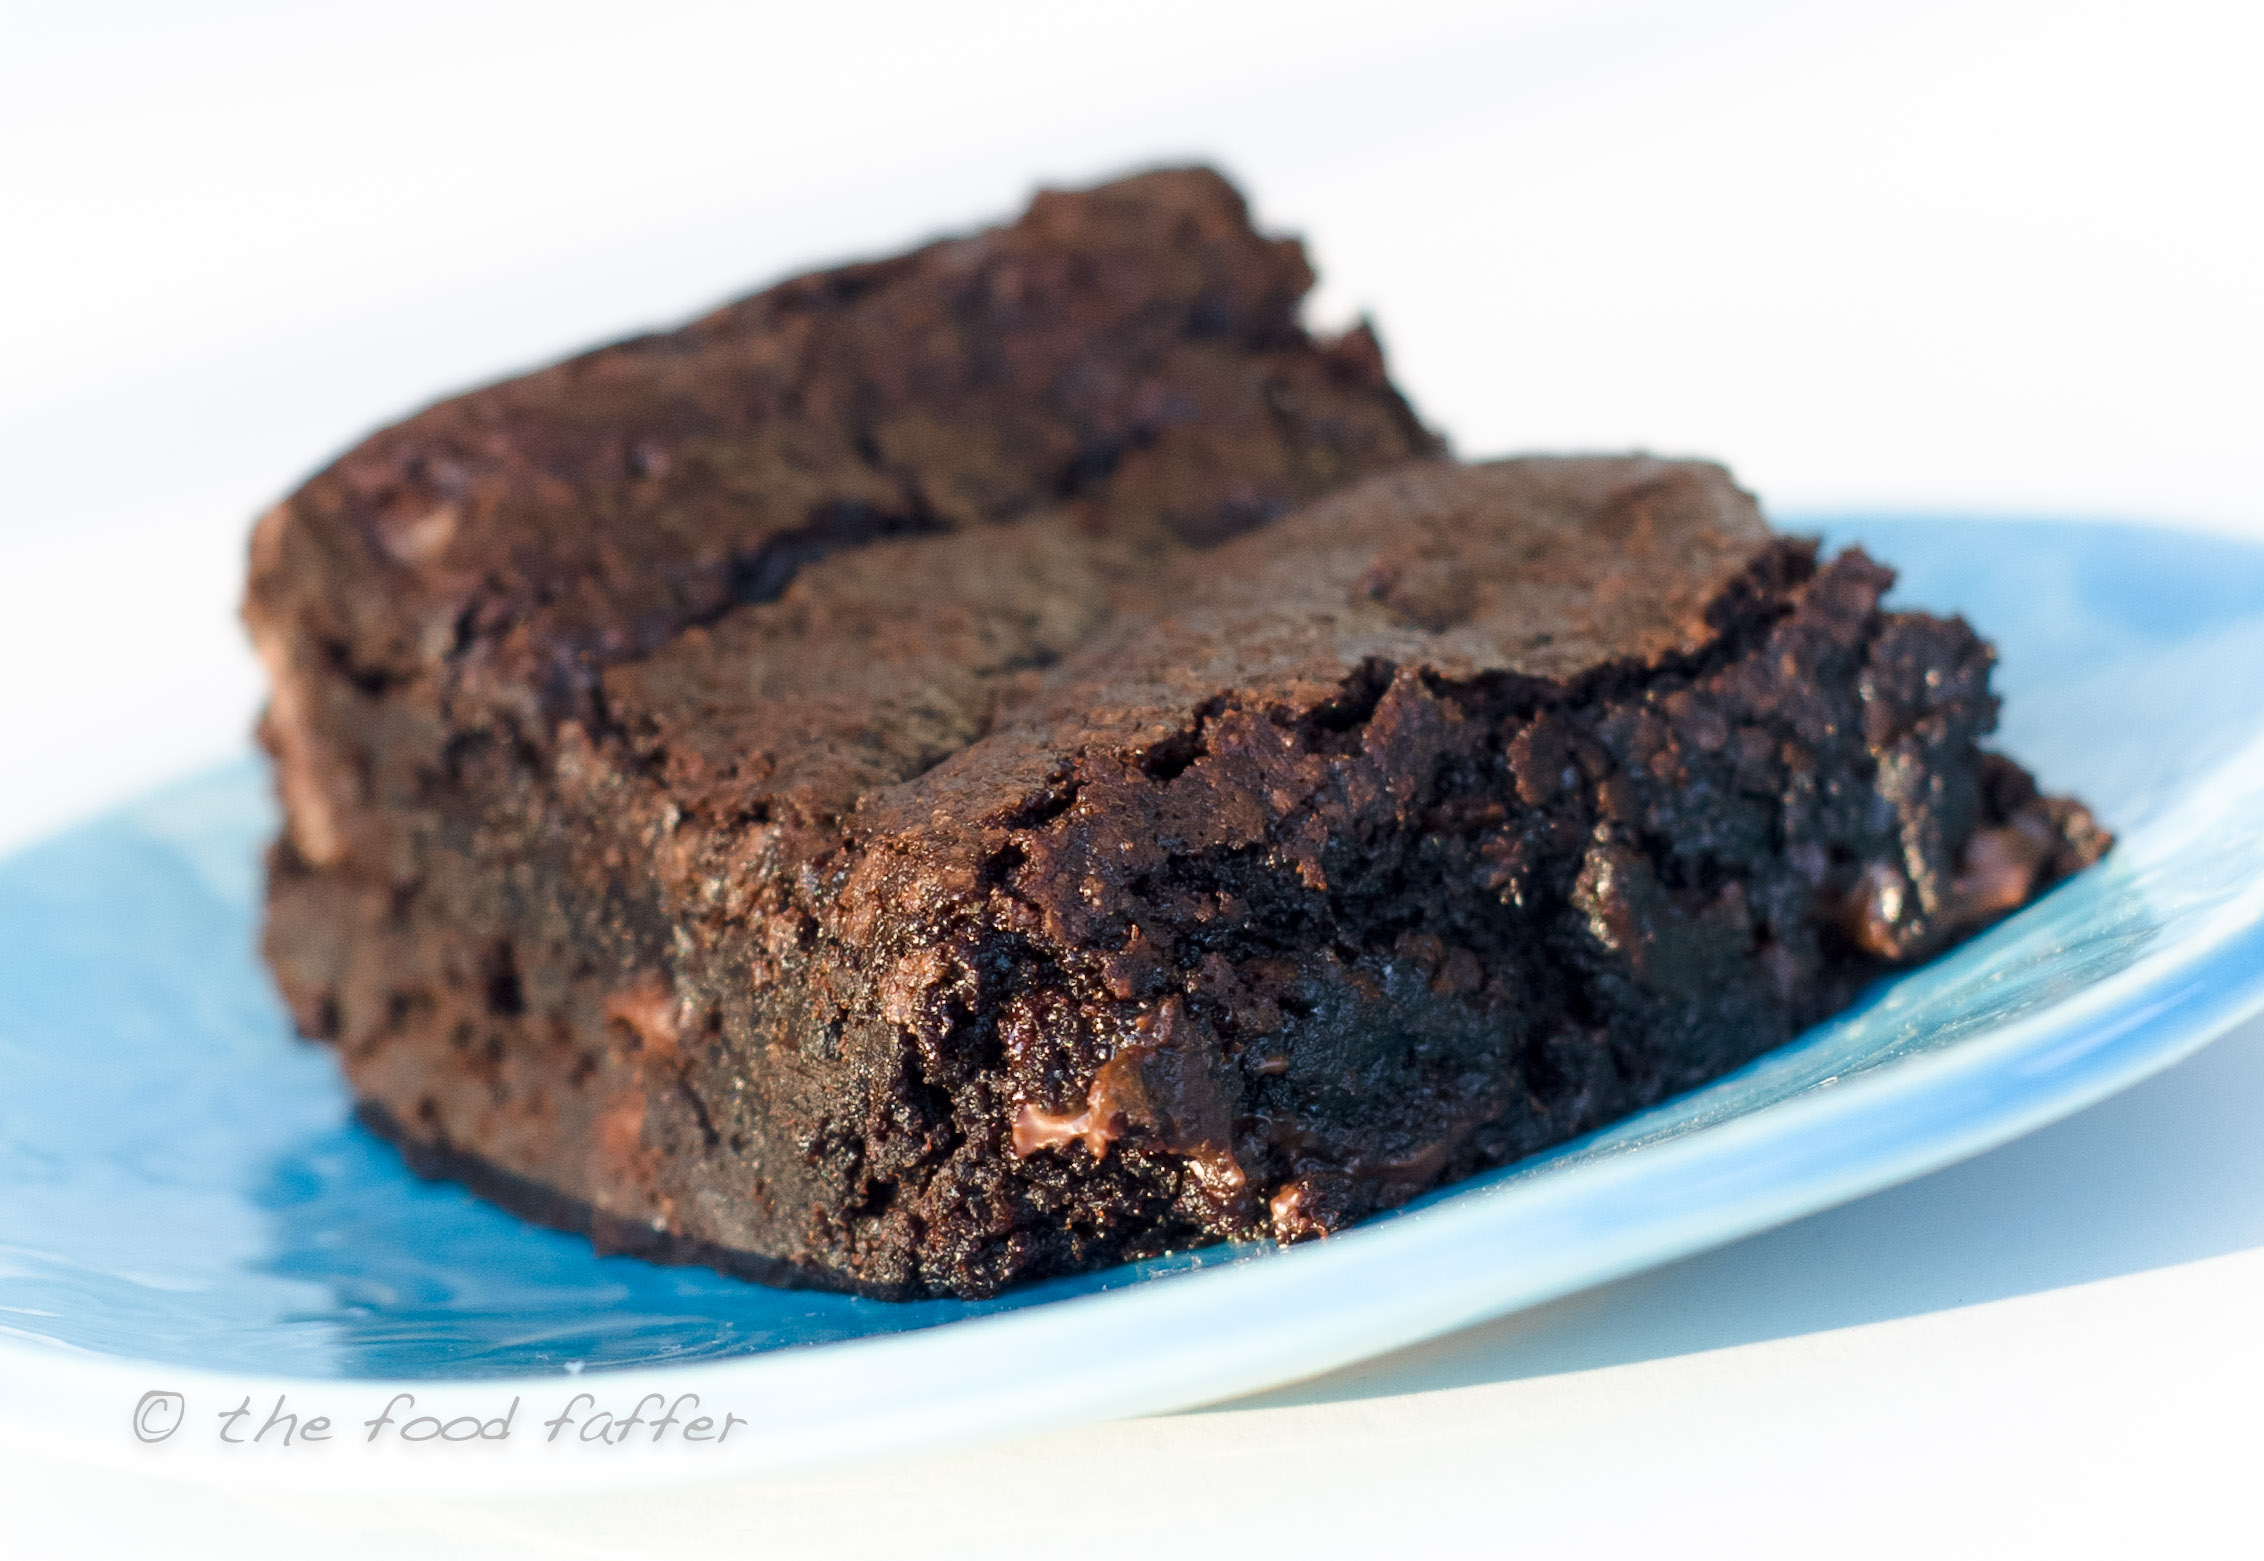
I’ve had this recipe saved on my computer for a while, but it’s taken me until now to make them. I found it on a blog by Meg Kat, but I think she’s stopped her food blog now. (I found the page here when I was looking for the original post.) In her recipe, she says to use “oil”. The first time I made these, I used canola oil. Seemed like a common brownie ingredient. But I wanted the texture of the finished product to have a little more density… it needed some oomf!! So, the second time I made these, I used coconut oil. (Peet softened it in the microwave for me before adding it to the rest of the ingredients, just to make sure it blended in evenly). Bingo!! The brownies were still moist, but had a whole new level of gooey fudginess. (Excuse me while I mop up my drool!!)
I must admit, I was surprised to see cornstarch in the ingredients. I was nervous this would make them turn out a little too cakey… so I substituted half the cornstarch for extra cocoa. The major benefit of doing this? They came out really dark and chocolatey!!
The only other change is that I used brown rice flour instead of white rice flour, simply because that’s what I had in the house.

Oh, and whose idea was it to set the standard pan size for brownies as 8 x 8?? Who makes brownies in such a small pan with a view to sharing them?? Maybe that’s the point… maybe all you 8 x 8 brownie pan peeps are secretly eating them when you’re home alone, destroying all the evidence before family, roomies and/or house guests come home!! All that to say, the quantities below are double the original recipe and baked in a 7 x 11 pan. They come out pretty shallow. I tend to double the quantities here and make them in a 9 x 13 pan (I still bake those for the same amount of time).
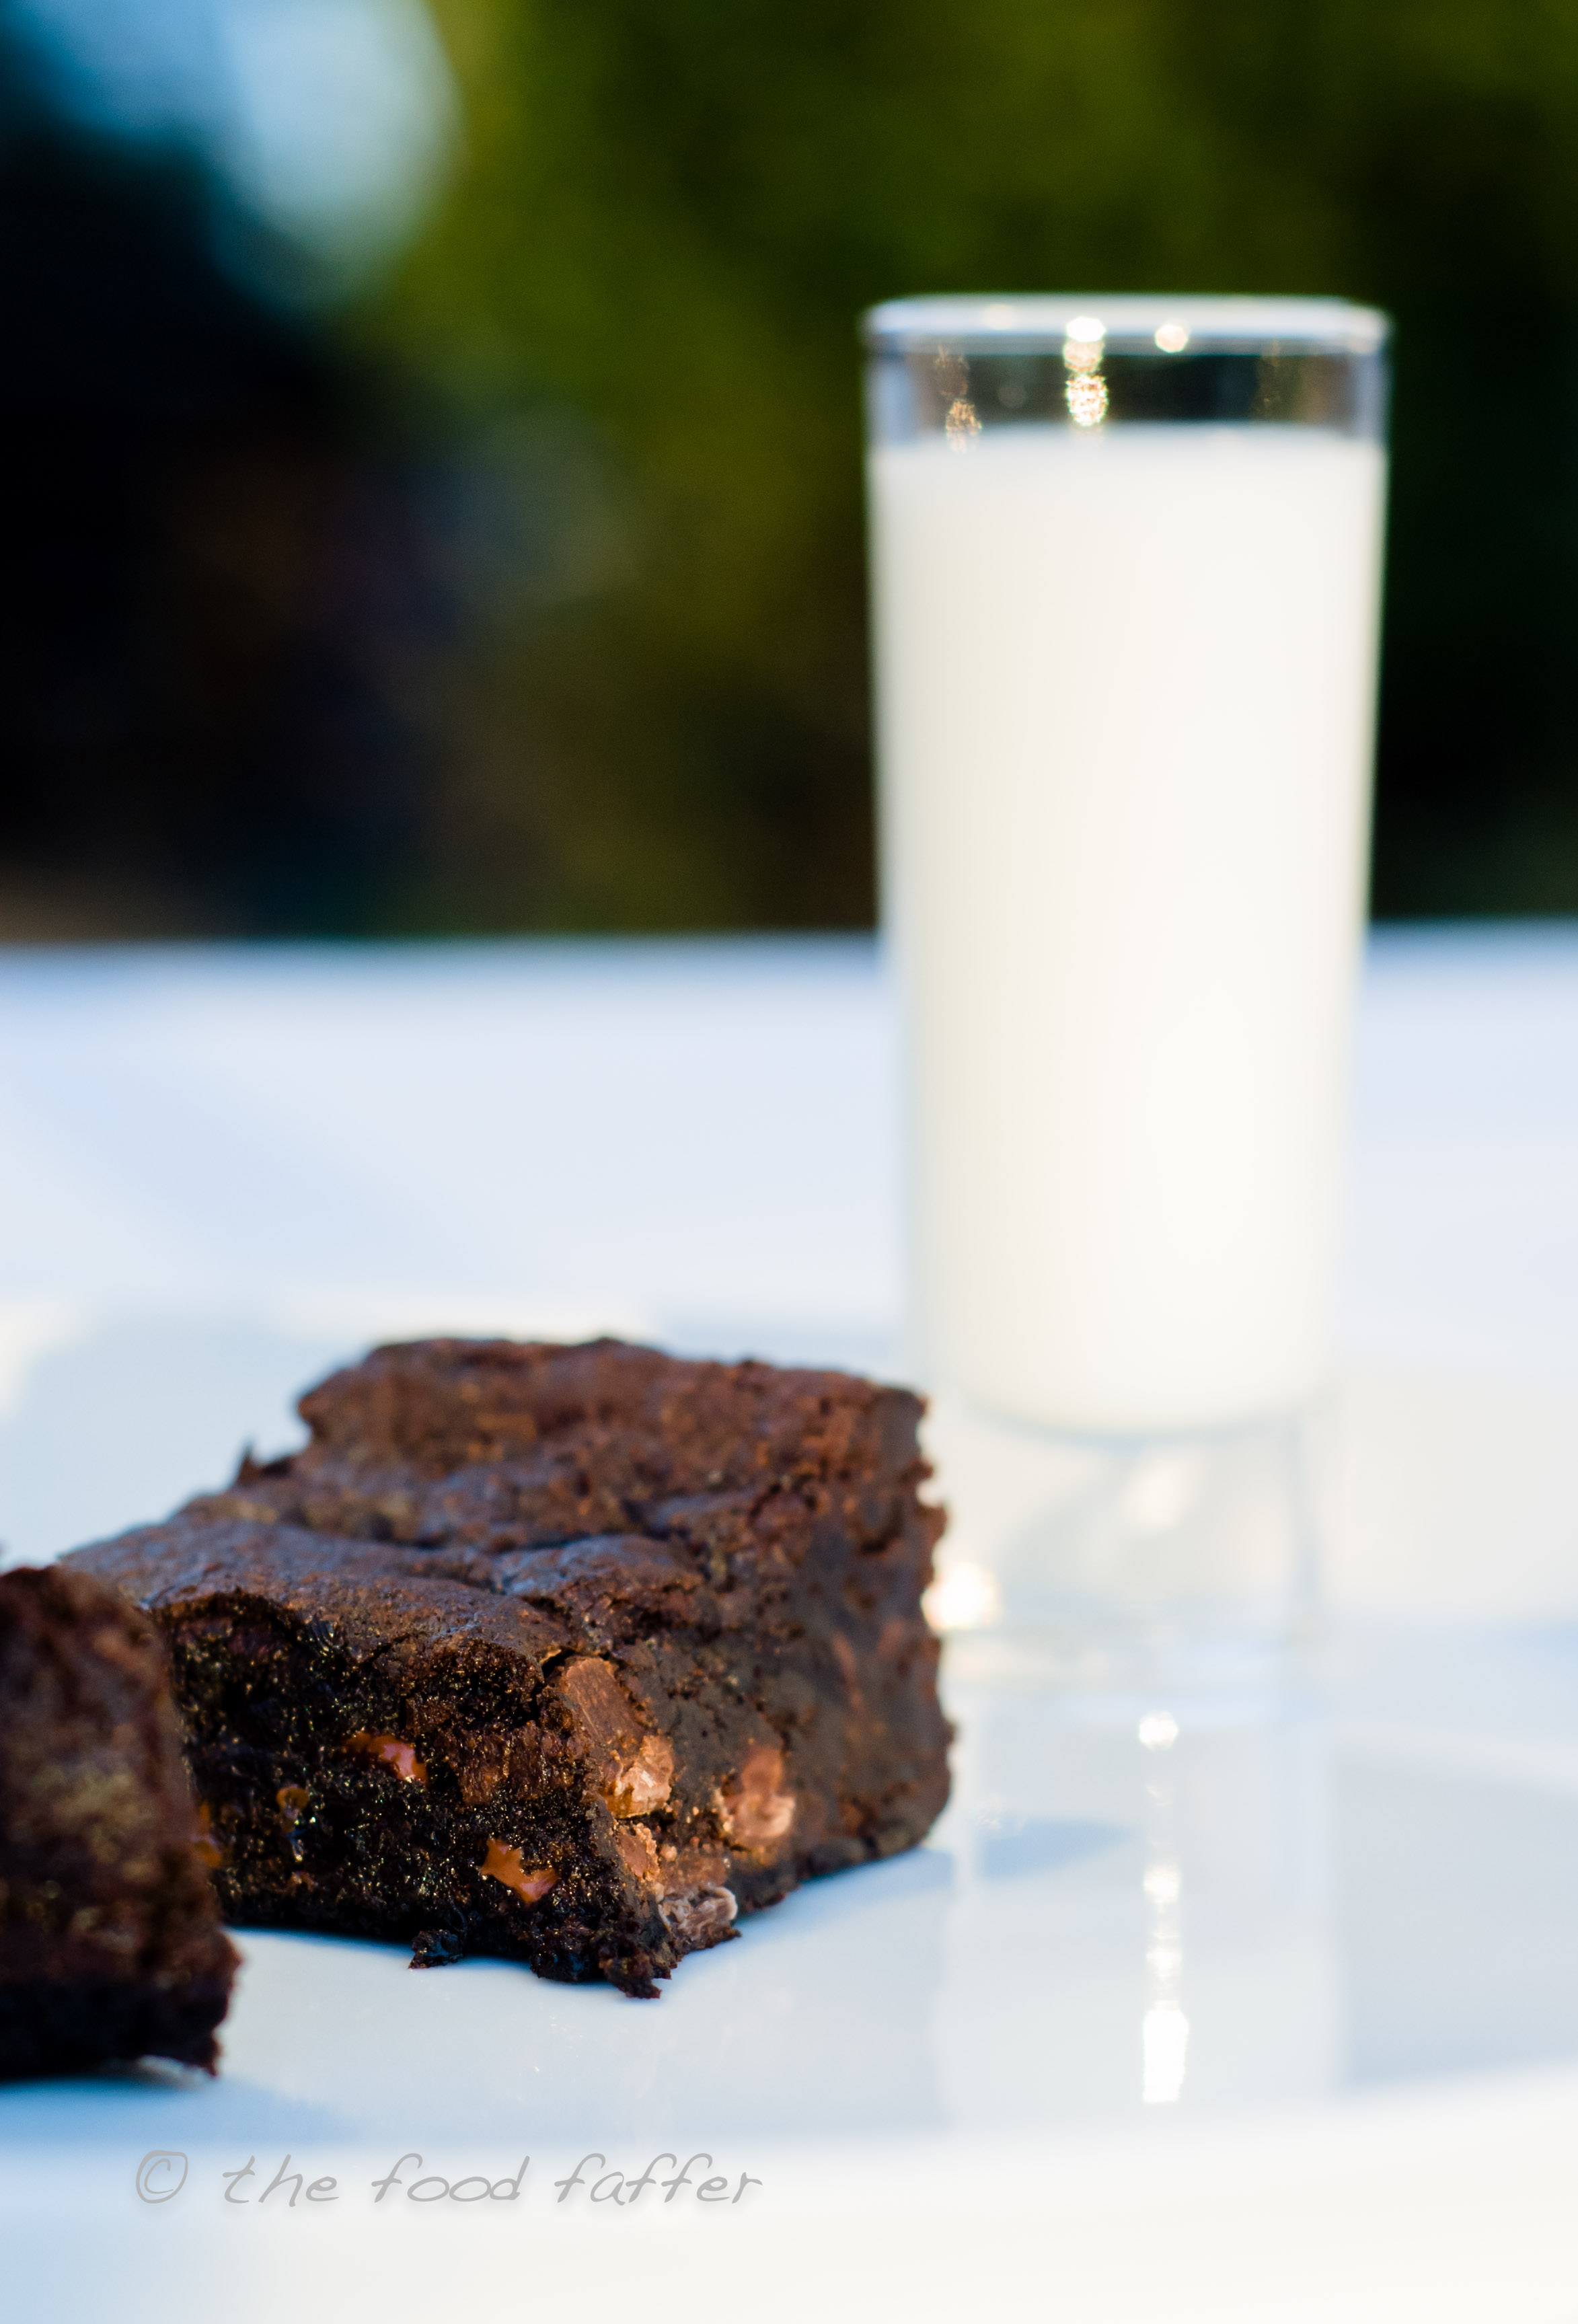
Anyway, enough with the kitchen commentary… go make the best vegan, gluten-free brownies you may ever eat… and if you need any more convincing, just talk to my friends Ben, Matt, Phil, Bernie or Heather… or, needless to say, Peet!!
Best Flippin’ Vegan Brownies
(Serves 2-12 people, depending on how generous you’re feeling!!)
(From Meg Kat, with some tweakings…)
2/3 cup brown rice flour (or whatever your fave gluten-free flour might be)
2/3 cup white sugar
2/3 cup soft brown sugar
1/4 cup cornstarch
3/4 cup unsweetened cocoa powder
2 tsp baking soda
1 tsp salt
2/3 cup unsweetened applesauce
1/2 cup coconut oil, softened
2 tsp vanilla extract
2/3 cup dairy-free chocolate chips (I use Ghirardelli semi-sweet)
 1. Preheat the oven to 350ºF and grease/line a 7 x 11 pan.
2. In a bowl, mix together the flour, sugars, cornstarch, cocoa, baking soda and salt, making sure to get rid of any lumps.
3. Add the applesauce, oil and vanilla, and stir until everything is combined into a lovely, yummy, gooey mass of brownie batter. Taste, just to make sure it’s OK.
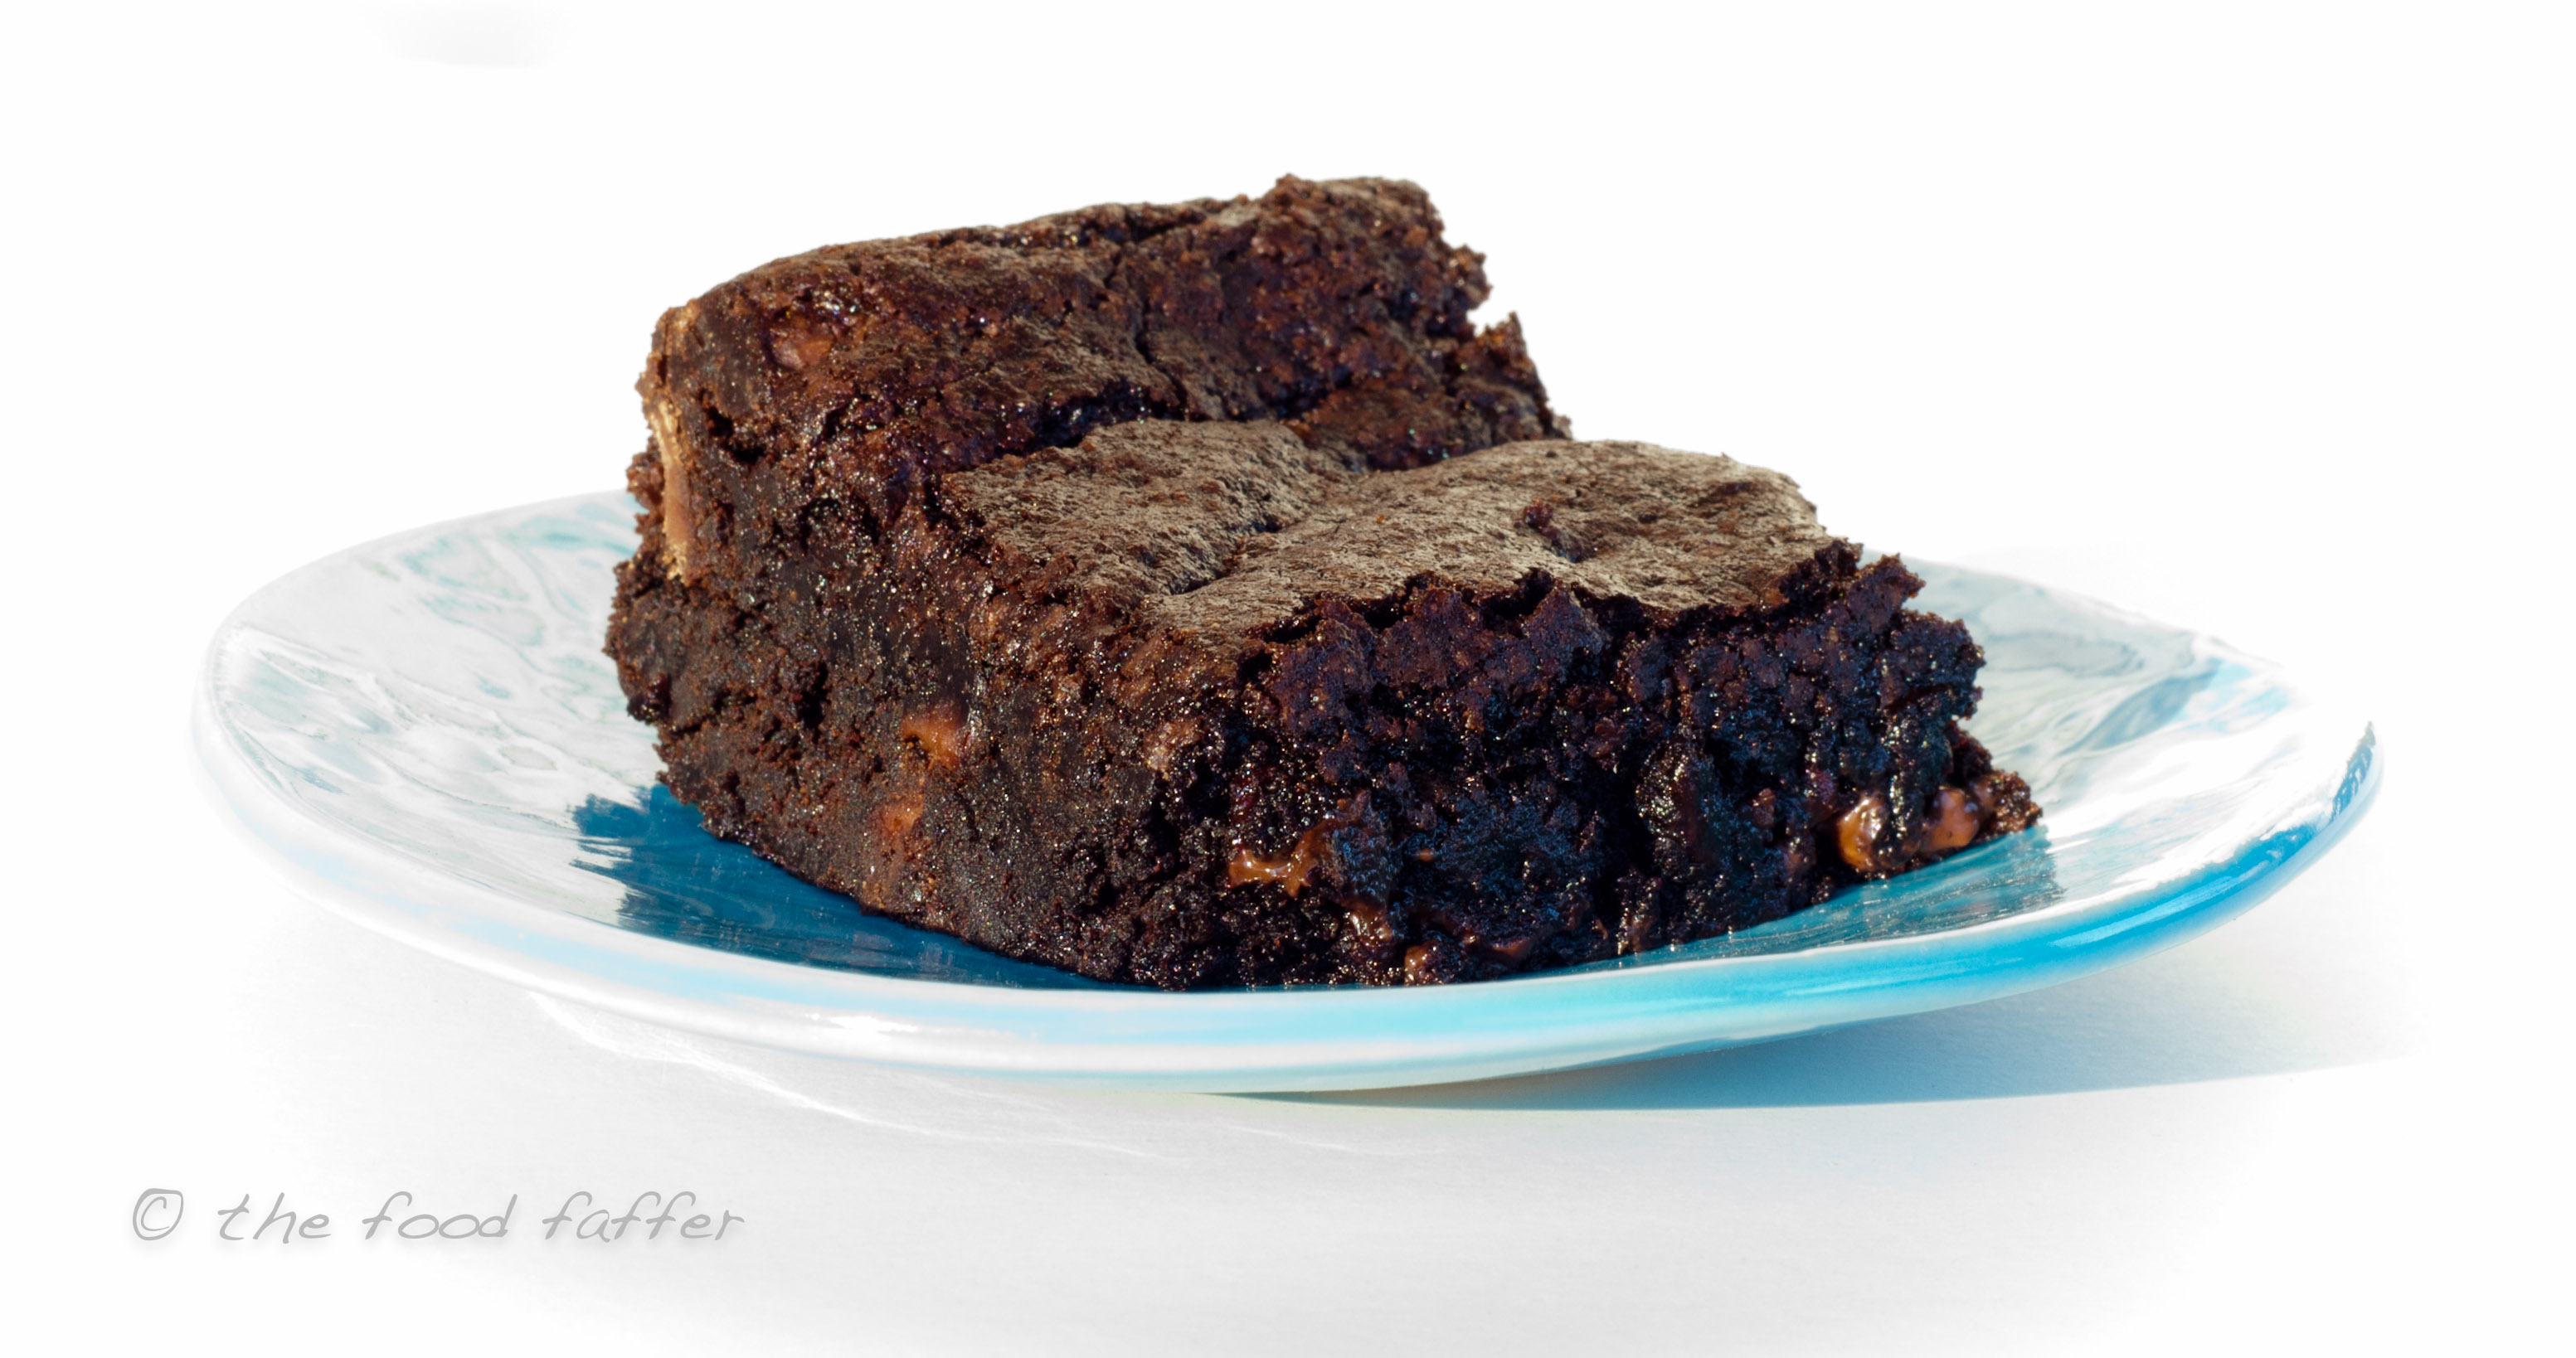
4. Stir in the chocolate chips, taste to make sure it’s still OK, then transfer it all to your pan.
5. Bake for 30-40 mins, depending on how well you like your brownies to be cooked through.
6. While they’re baking, use the time to clean your bowl and utensils… with your tongue!!
These taste great while still warm… they taste great at room temperature… gosh, they even taste great straight out the fridge!! Enjoy…