Archive | Picnic RSS for this section

Sea Salt and Rosemary Crackers

… because what else are you going to do with that leftover pastry?!!

Whenever I make a pie or tart of some description, I always have leftover pastry. I lovingly wrap it in cling film and dutifully stick it in the fridge… and I have every intention of using it. Honestly. I do. But more often than not, it gets shoved to the back of the chilly abyss behind the leftover egg whites, the tub of Philadelphia cooking creme (have any of you tried that fabulous stuff yet??), and the half-sandwich that no one wants to take responsibility for… and I end up feeling guilty as I toss it into the trash a week later.

I have childhood memories of my dad breaking leftover pastry dough into little pieces and tossing it onto the lawn for the birds to eat. Not sure what the deal is with our feathered friends here in the US, but they’ve done nothing but turn their beaks up at my generous offerings. Hence the need to come up with something far more satisfying to use up the doughy remnants…

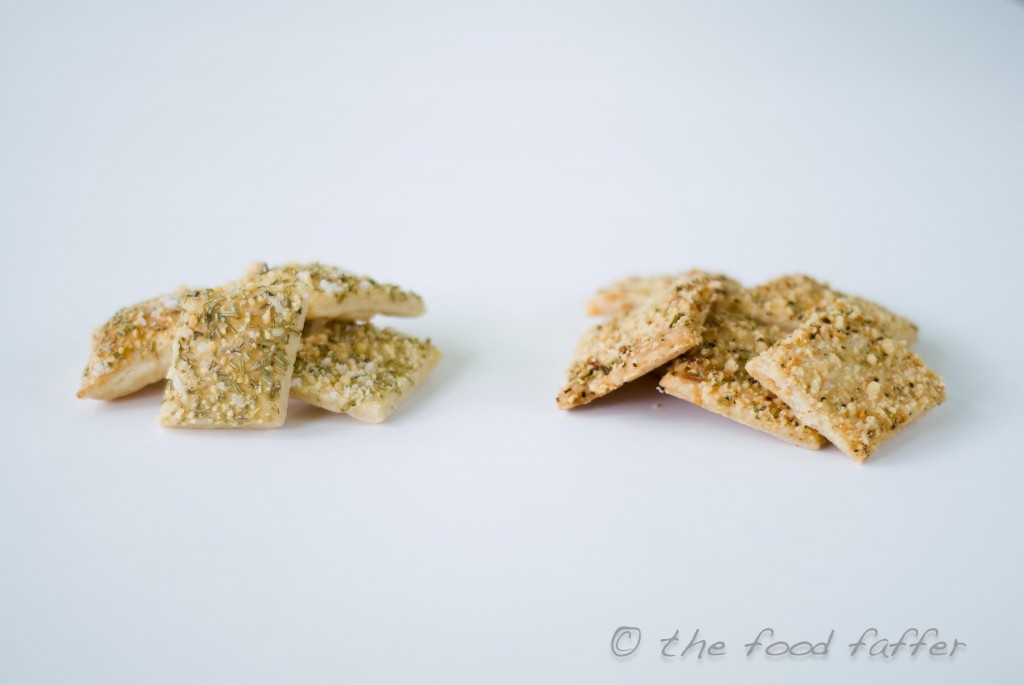
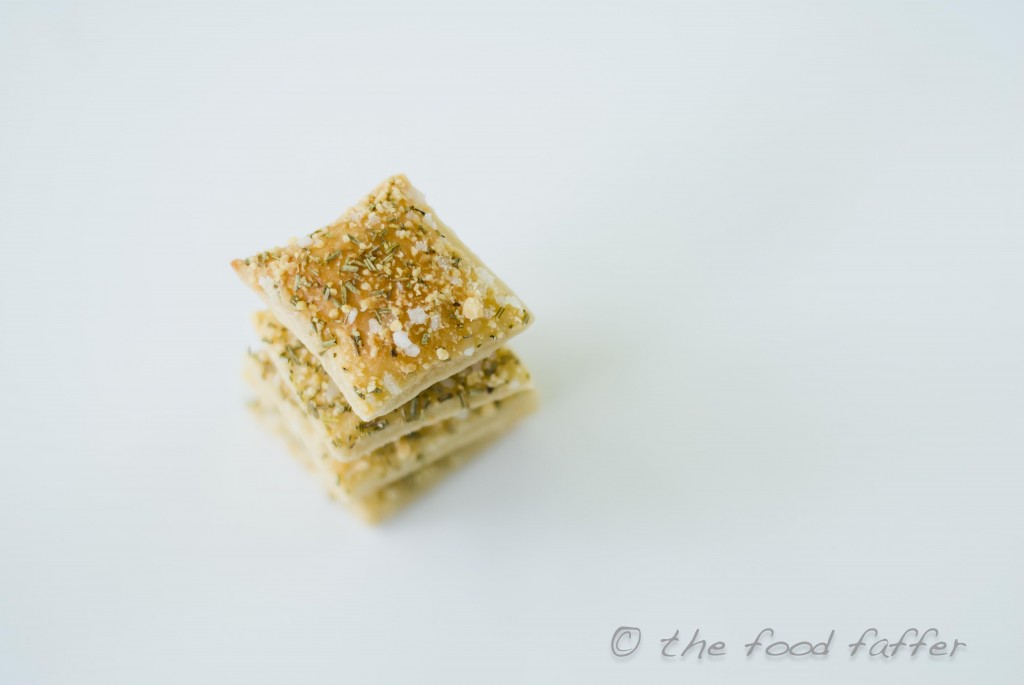
A week or so ago, I made a little somethin’-somethin’ that needed a pastry shell. It was a savory, cheesey pie… so I made my own pastry and added a handful of grated parmesan to the dry ingredients… just because. I was suddenly inspired to roll out the leftover dough, brush it with a beaten egg, sprinkle it with whatever caught my attention, and slam it in the oven for 20 minutes. Woo hoo!! Success!! Yummy while still warm; yummy at room temperature. Yummy dipped in hummus; yummy just as they were.

Between me, Peet and Moeks (mum-in-law, visiting from South Africa), they didn’t last long. And you know what? They were so good, I’d make some pastry for the sole purpose of having a batch of these sitting around!!
Here are some notes that might be helpful…

•  If you only have shop-bought pastry/pie crust in the house, that will totally work. You really need to give these a try. If you’re making your own pastry, try adding a handful of grated parmesan to the dry ingredients for some extra cheesey-ness…

•  Don’t skip on the “beaten egg” part. This gives the crackers a lovely golden color when they’re cooked… but, more importantly, it makes the seasonings stick to the pastry. (I can’t stand it when I buy crackers that have “stuff” on them, but it’s all fallen off in the packet by the time I open them!!)

•  You can sprinkle whatever you like on top. Be creative. Peet and I love sea salt and rosemary, so that was my default. But I also made some using one of my favorite seasonings: Tone’s Rosemary and Garlic (I buy mine from Sams, but you can also get it from Amazon and other online stores). How about a sweet version (but maybe leave the cheese out of your home made pastry!!) with cinnamon sugar on top? You get the idea…

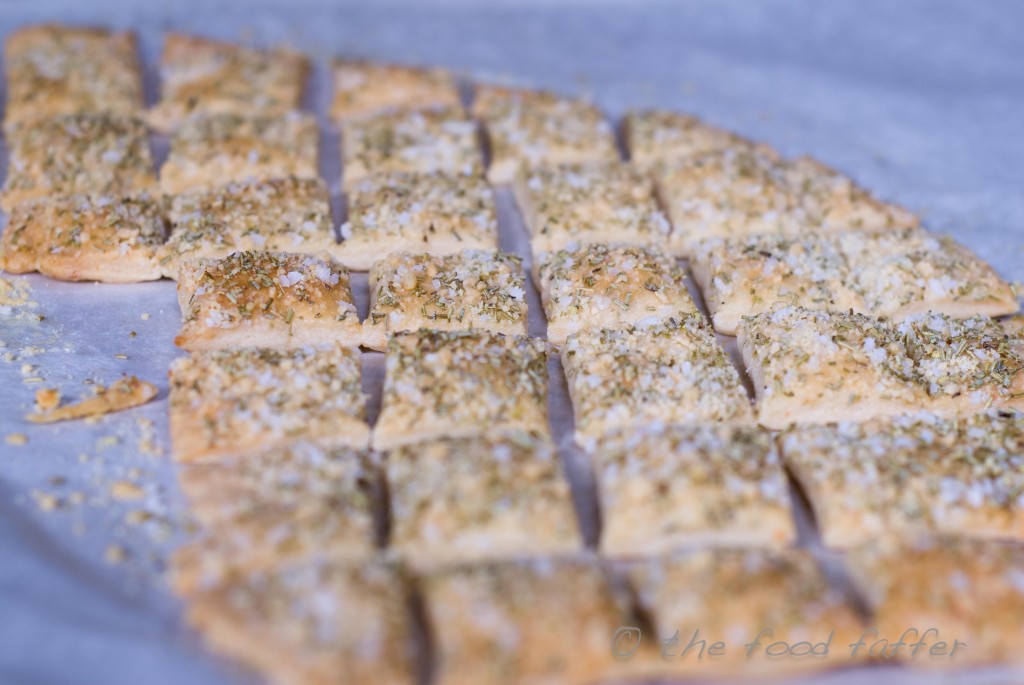
•  Cut the uncooked pastry into bite-sized squares after it’s been sprinkled and before you put it in the oven. The pastry will shrink during cooking, which means you have a sheet full of neat and tidy, ready-cut crackers. (If you wait until it’s cooked before cutting, the crackers may crumble in the process.) Using a pizza wheel for this makes life really simple.

This couldn’t be easier…
Sea Salt and Rosemary Crackers

shortcrust pastry (also known as “pie crust”)… not puff pastry
beaten egg
sea salt or kosher salt (not the massive crystals… just the medium ones!)
dried rosemary (I use the crushed stuff to avoid the sensation of twigs in my mouth!)
grated parmesan  

  1. Preheat the oven to 350ºF.
  2. Roll out the pastry on a floured surface until it’s approx 1/8 inch thick, and carefully transfer it to a parchment-lined cookie sheet.
  3. Brush a thin layer of the beaten egg across the whole surface area of the pastry.
  4. Sprinkle a layer of salt across the pastry, followed by a generous sprinkling of rosemary, ending with a light dusting of parmesan.
  5. Using a pizza wheel, cut the pastry into bite-sized squares.
  6. Bake for 20-25 minutes, keeping an eye on them and pulling them out when they’re golden brown on top.
  7. Eat.
  8. Make more. 😀

Black Bean Chocolate Cake

Not sure if any of you lovely peeps noticed, but I’ve been faffing with the look of my blog. Do you like it? (Please, only respond if you have something nice to say!!) I love it!! I have to give a HUGE shout out to our friend Shane who’s responded very graciously to my elementary questions and numerous fix-it requests. He has the patience of a Pope waiting for beatification.

Anyway, after all my tweakings this week I was in a bit of a dilemma as to what my next post should be. I feel like I’ve done a whole lot of cooking lately, and taken a whole bunch of pics… hence I have a whole host of recipes I’m desperate to share!! However, our friend Chris has been asking me for this recipe for several weeks now, so I figured I should oblige. If nothing else, it gave me a reason to make it again on Saturday for a bunch of us to enjoy photographic purposes!!

I saw this on A Hippie with a Minivan and, apart from loving the name of this particular blog, the recipe caught my attention because it’s gluten-free. Not that I want, or need, a gluten-free diet… but I’m always happy to reduce my intake of the stuff that often causes me to wake up in the wee hours of the morning feeling more congested than the gates of Buckingham Palace after a royal wedding. And who would’ve thunk it: black beans… in a cake?!! I’ve also become a huge fan of coconut oil, too, and replacing the butter with it doesn’t appear to have any detrimental effects whatsoever. Now, if I gave Peet the option of “butter” or “no butter”, there are no prizes for guessing which one he’d go for. But even he freely admits that this cake is fabulous.

A word of warning: within minutes of this cake going into the oven, it fills your home with the most chocolatiest smell ever. It’s probably one of those perfect items to be baking when you have people coming to view your house that you’re trying to sell. And to seal the deal, try offering the lovely couple a slice. Seriously!! And… if you just so happen to mention that it’s kinda healthy, maybe they’ll give you your asking price. OK – so that might be taking it a bit far, but you get the idea!!

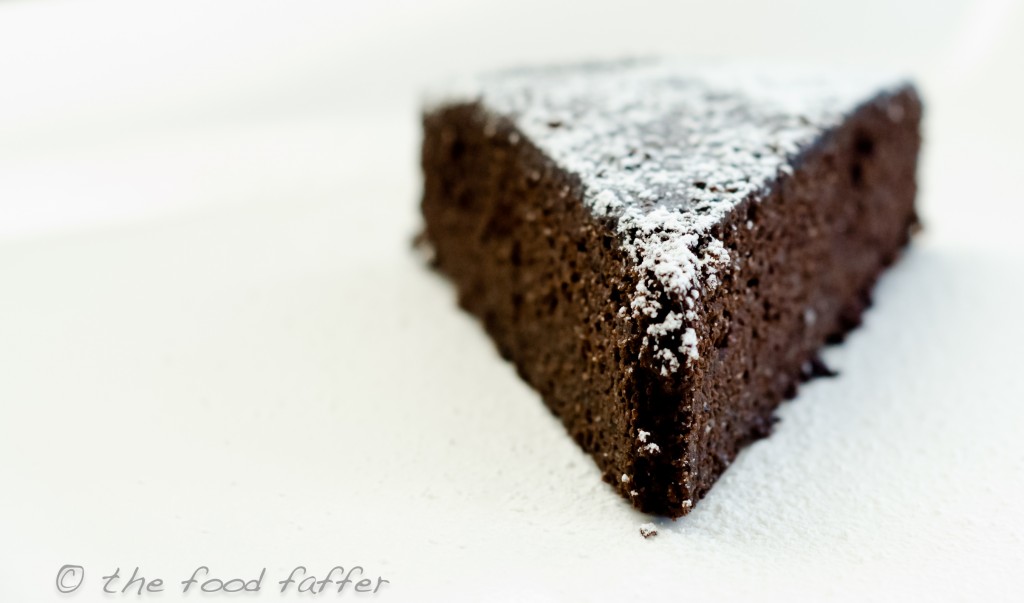
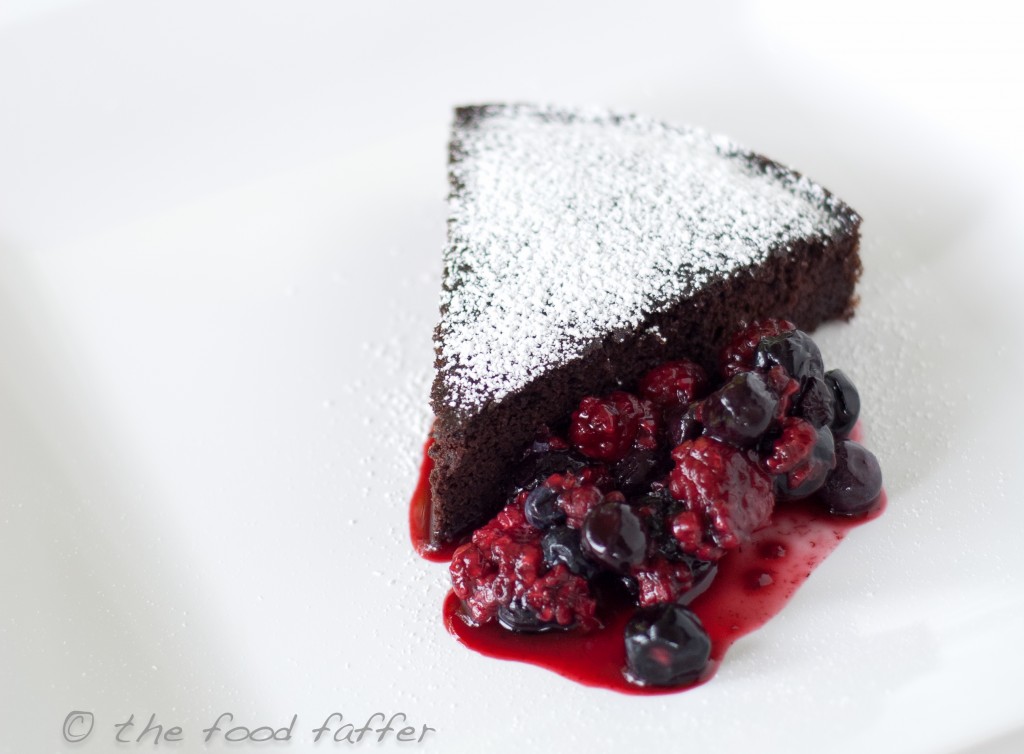
I usually like to tweak recipes that I find, but I pretty much follow the original version of this one. Why mess with perfection? I don’t even bother to ice the cake – it’s so moist, it really doesn’t need anything. Just a dusting of powdered sugar is enough. Having said that, I often serve this as a dessert with a spoonful of unsweetened berries on the side (frozen berries that have thawed out and created a glorious pool of berry-ness). When the chocolate sponge soaks up some of those juices… well… you just have to try it to believe it!!

Black Bean Chocolate Cake
(From A Hippie with a Minivan, with a couple of minor tweaks…)

1 can black beans, drained and rinsed (my cans are 15oz)
5 large eggs
1 tbs vanilla extract
1/2 tsp salt
6 tbs coconut oil (or butter if you can’t live without it!!)
3/4 cup demerera sugar (or Sugar in the Raw will work)
6 tbs cocoa powder
1 tsp baking powder
1/2 tsp baking soda
1 tbs water

  1. Preheat the oven to 350ºF and grease/line a 9″ cake pan.
  2. Mix together the cocoa, baking powder and baking soda in a small bowl.
  3. In a larger bowl, whisk the coconut oil (or butter) until it’s soft and fluffy. Add 2 of the eggs and whisk well after each one.
  4. Put the beans, 3 of the eggs, vanilla, sugar and salt into a blender or food processor and blend/process until the mixture is smooth. Add this mixture to the coconut oil/egg concoction and mix to combine.
  5. Stir in the remaining dry ingredients and the water and beat on high for 1 minute until smooth.
  6. Pour the batter into the cake pan and bake for 25-30 mins. The top of the cake should be rounded and firm to the touch, and the cake should be pulling away from the sides of the pan.
  7. Allow to cool for 5-10 mins in the pan, then release and allow to cool completely on a rack.

Enjoy!!

Dijon Potato Salad

Due to popular demand, I’m posting the recipe for one of my favorite versions of potato salad. Peet and I had a multitude of people over at the weekend… and, after consuming a copious amount of this stuff, there were several requests for the recipe… and I’m nothing but compliant!!

This mayo-less, sour cream-less side dish originally caught my eye because I was needing a potato salad recipe that could sit outside on a table for much longer than its dairy/eggy relatives. Not that I would want to leave this out for hours on end… but I can definitely have my paranoid moments when it comes to guessing how long mayonnaise has been basking in 80ºF temperatures.

The added bonus of this version is that my friend Bernie can’t stand mayo or sour cream. So this one works for her. I think. (Bernie, am I remembering correctly that you like this??) Unfortunately, her hubby, Shane, doesn’t like mustard… so I’m still on the look-out for a version that satisfies both palates. Let me know in the “Comments” if you have something up your sleeve that’s been tried and tested…

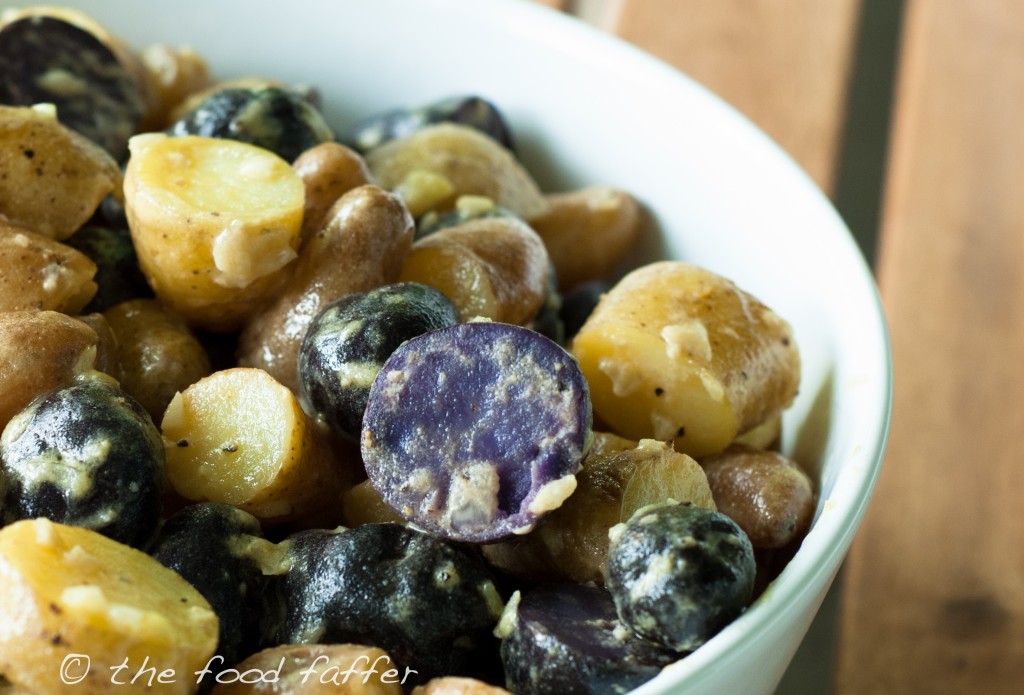
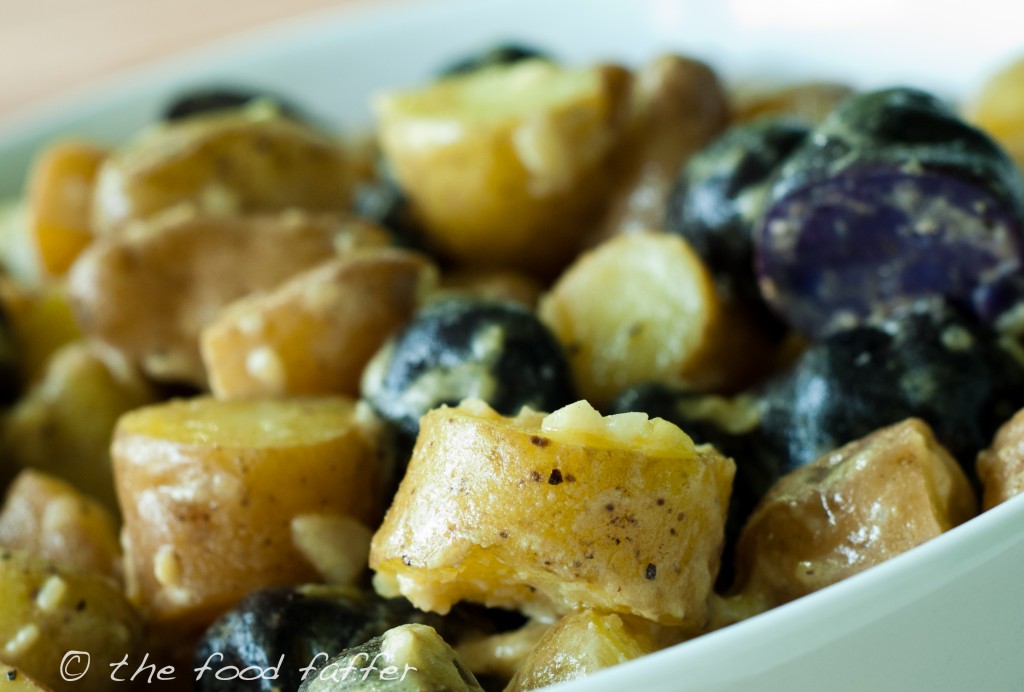
I used the tri-colored fingerling potatoes this time, mainly for presentation purposes. I’ve used pretty much any variety of spuds in the past, and the dish has never let me down. If someone put a gun to my head, though, I’d probably default to fingerlings (colored or otherwise) simply because they retain a sturdy, creamy texture when cooled to room temperature. Also, they can sometimes be tricky to find in the stores (especially if you live in Memphis), which must mean they’re more special, right??!!!

This dish is equally wonderful whether it’s served warm or at room temperature. Just make sure you toss the tats in the mustard mixture while they’re still warm in order for the maximum flavor to be absorbed into the potatoes as they “rest”.

So, to the recipe…

Dijon Potato Salad
(From Food Network’s Easy Entertaining with Michael Chiarello, with some tweaks…)
Serves 12… generously!!

1/2 onion, finely chopped
1/4 cup dijon mustard
2 tbs red wine vinegar
2 tsp chopped fresh herbs of your choice
3/4 tsp sea salt
1 1/2 tsp fresh black pepper
1/3 – 1/2 cup olive oil
5 lbs fingerling potatoes, unpeeled and cut into bite-sized pieces

  1. Put the potatoes in a pot of cold, salted water and bring to a boil. Reduce the heat and allow to simmer for approximately 15 mins, until a sharp knife can be inserted easily. Drain the potatoes and tip into a large bowl.
  2. While the potatoes are cooking, mix together the onion, mustard, vinegar, herbs, salt and pepper. Gradually whisk in the olive oil until the mixture has a thick, pourable consistency and add to the potatoes, tossing to coat.
  3. Serve warm or allow to cool to room temperature… and enjoy!!