Black Bean Chocolate Cake
Not sure if any of you lovely peeps noticed, but I’ve been faffing with the look of my blog. Do you like it? (Please, only respond if you have something nice to say!!) I love it!! I have to give a HUGE shout out to our friend Shane who’s responded very graciously to my elementary questions and numerous fix-it requests. He has the patience of a Pope waiting for beatification.
Anyway, after all my tweakings this week I was in a bit of a dilemma as to what my next post should be. I feel like I’ve done a whole lot of cooking lately, and taken a whole bunch of pics… hence I have a whole host of recipes I’m desperate to share!! However, our friend Chris has been asking me for this recipe for several weeks now, so I figured I should oblige. If nothing else, it gave me a reason to make it again on Saturday for a bunch of us to enjoy photographic purposes!!
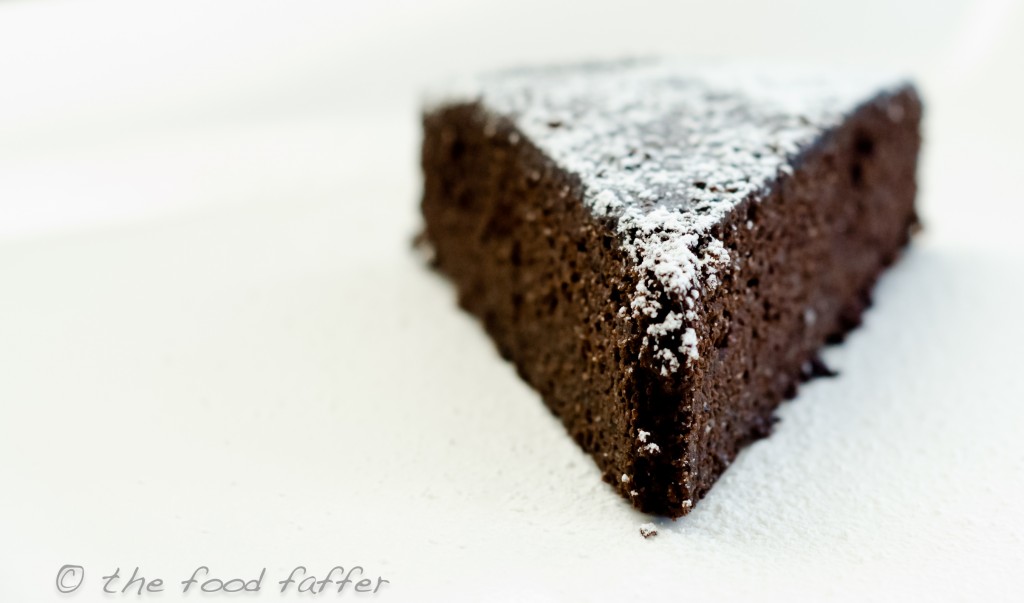 I saw this on A Hippie with a Minivan and, apart from loving the name of this particular blog, the recipe caught my attention because it’s gluten-free. Not that I want, or need, a gluten-free diet… but I’m always happy to reduce my intake of the stuff that often causes me to wake up in the wee hours of the morning feeling more congested than the gates of Buckingham Palace after a royal wedding. And who would’ve thunk it: black beans… in a cake?!! I’ve also become a huge fan of coconut oil, too, and replacing the butter with it doesn’t appear to have any detrimental effects whatsoever. Now, if I gave Peet the option of “butter” or “no butter”, there are no prizes for guessing which one he’d go for. But even he freely admits that this cake is fabulous.
A word of warning: within minutes of this cake going into the oven, it fills your home with the most chocolatiest smell ever. It’s probably one of those perfect items to be baking when you have people coming to view your house that you’re trying to sell. And to seal the deal, try offering the lovely couple a slice. Seriously!! And… if you just so happen to mention that it’s kinda healthy, maybe they’ll give you your asking price. OK – so that might be taking it a bit far, but you get the idea!!
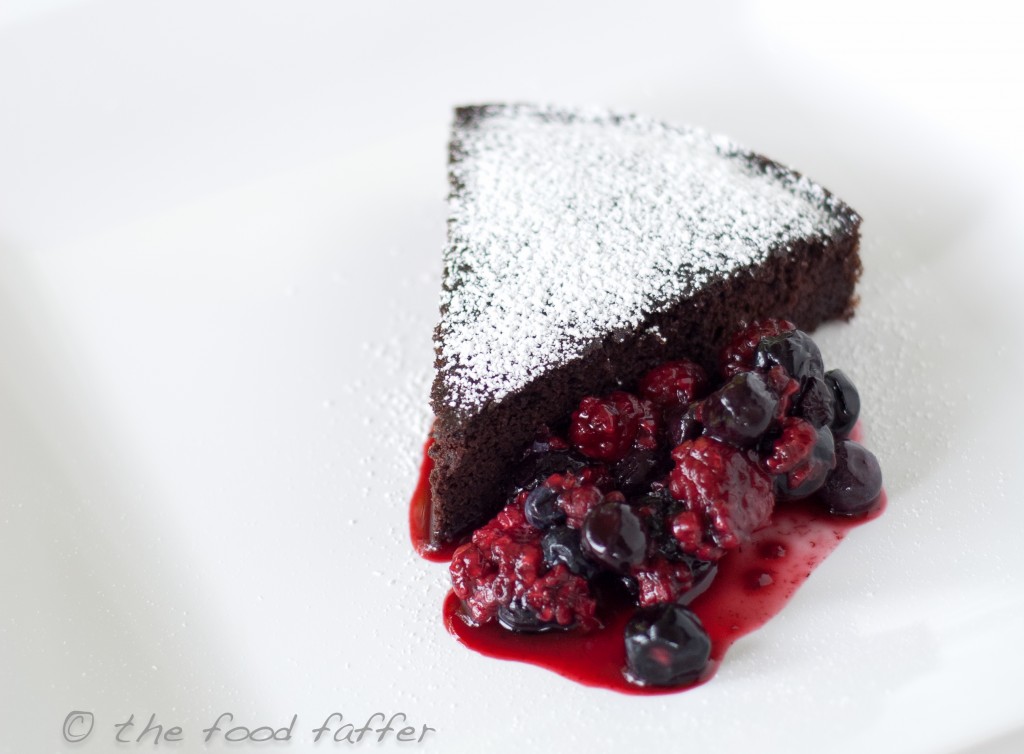
I usually like to tweak recipes that I find, but I pretty much follow the original version of this one. Why mess with perfection? I don’t even bother to ice the cake – it’s so moist, it really doesn’t need anything. Just a dusting of powdered sugar is enough. Having said that, I often serve this as a dessert with a spoonful of unsweetened berries on the side (frozen berries that have thawed out and created a glorious pool of berry-ness). When the chocolate sponge soaks up some of those juices… well… you just have to try it to believe it!!
1 can black beans, drained and rinsed (my cans are 15oz)
5 large eggs
1 tbs vanilla extract
1/2 tsp salt
6 tbs coconut oil (or butter if you can’t live without it!!)
3/4 cup demerera sugar (or Sugar in the Raw will work)
6 tbs cocoa powder
1 tsp baking powder
1/2 tsp baking soda
1 tbs water
- Preheat the oven to 350ºF and grease/line a 9″ cake pan.
- Mix together the cocoa, baking powder and baking soda in a small bowl.
- In a larger bowl, whisk the coconut oil (or butter) until it’s soft and fluffy. Add 2 of the eggs and whisk well after each one.
- Put the beans, 3 of the eggs, vanilla, sugar and salt into a blender or food processor and blend/process until the mixture is smooth. Add this mixture to the coconut oil/egg concoction and mix to combine.
- Stir in the remaining dry ingredients and the water and beat on high for 1 minute until smooth.
- Pour the batter into the cake pan and bake for 25-30 mins. The top of the cake should be rounded and firm to the touch, and the cake should be pulling away from the sides of the pan.
- Allow to cool for 5-10 mins in the pan, then release and allow to cool completely on a rack.
Enjoy!!

