Tag Archives: snack

Nut-Free Chewy Granola

Um… OK. I’m trying not to be too frustrated with myself right now. Believe it or not, I had drafted this post back in February – I just hadn’t got around to finishing it and posting it (what the blazes have I been doing for the past 6 months to justify that??!!!). I finally sat down just now to upload the photos and post it… and in the process, poof!! Everything vanished. I have no idea what happened. I didn’t delete anything… I didn’t type over anything. But all my text was gone. Not happy. Not happy one bit.

So…  as I try to laugh this off as “one of those things”, let’s try this again. Oi oi oi…

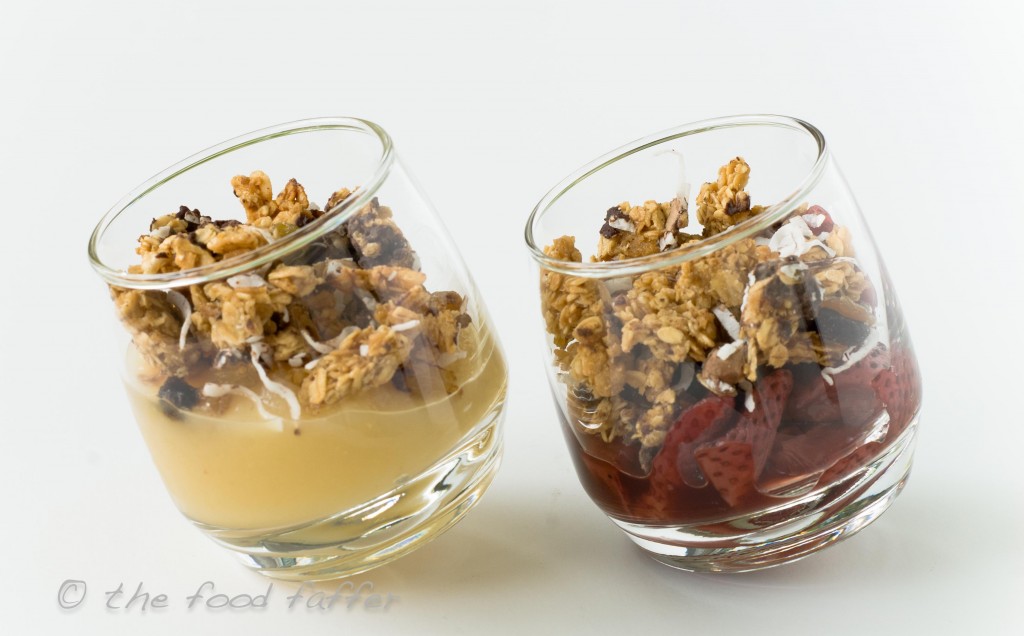
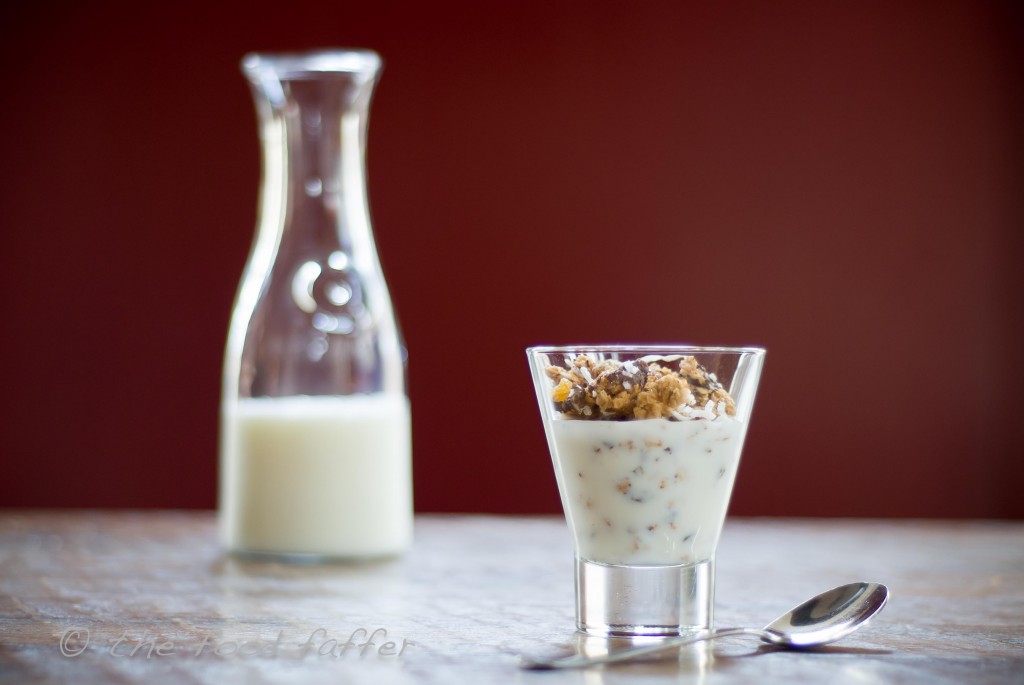
I never used to be much of a granola fan. It always felt like I had a mouthful of cardboard crumbles in my mouth that tasted of nothing other than… well, cardboard. But in my constant pursuit to find healthy snacks that both Peet and I enjoy to make and eat, I thought I’d revisit the “granola” idea. It seems like such a versatile food item. If you have a great version of the final product, it’s wonderful eaten on its own as a snack… especially on road trips… although it’s helpful to wear one of those pelican bibs to catch all the bits that miss your mouth as you drive over bumps and sink holes!! It’s also great with ice cold milk poured over it for breakfast or a late night snack. Or how about sprinkled on top of applesauce or my Slow-Roasted Balsamic Strawberries (shameless plug!!), with a dollop of Greek yogurt for a healthy dessert? Gosh – I’m getting hungry!!

So, since the options to dress it up or down seemed limitless, I started looking for a granola recipe that might inspire me.

Enter Sylvie from Gourmande in the Kitchen. I’ll spare you the countless less-than-average recipes that I tried, and will simply say that Sylvie is a genius!! She deconstructed granola and came up with a wonderful list of ingredients that gives you the best granola I’ve ever eaten!! I don’t want to steal her thunder, so pop on over to her site to read why you should use two different kinds of oats, why it’s good to include fruit puree, what the benefits are of using both a liquid and a sugar sweetener, blah blah blah… It’s worth the read!!

To make things a little more challenging when it comes to me finding a granola recipe I like, I have a nut allergy. Most nut-free recipes make up for it by adding seeds of all shapes and sizes… but there are some seeds I can’t eat, and the rest of them I don’t like!! (Can I hear “high maintenance” coming from the chorus line??!!) However, the beautiful thing about granola is that you can find the base recipe that works for you, and then you can add whatever the heck you want to after that!!  Well, folks, without further ado, let me present to you my favorite base recipe…

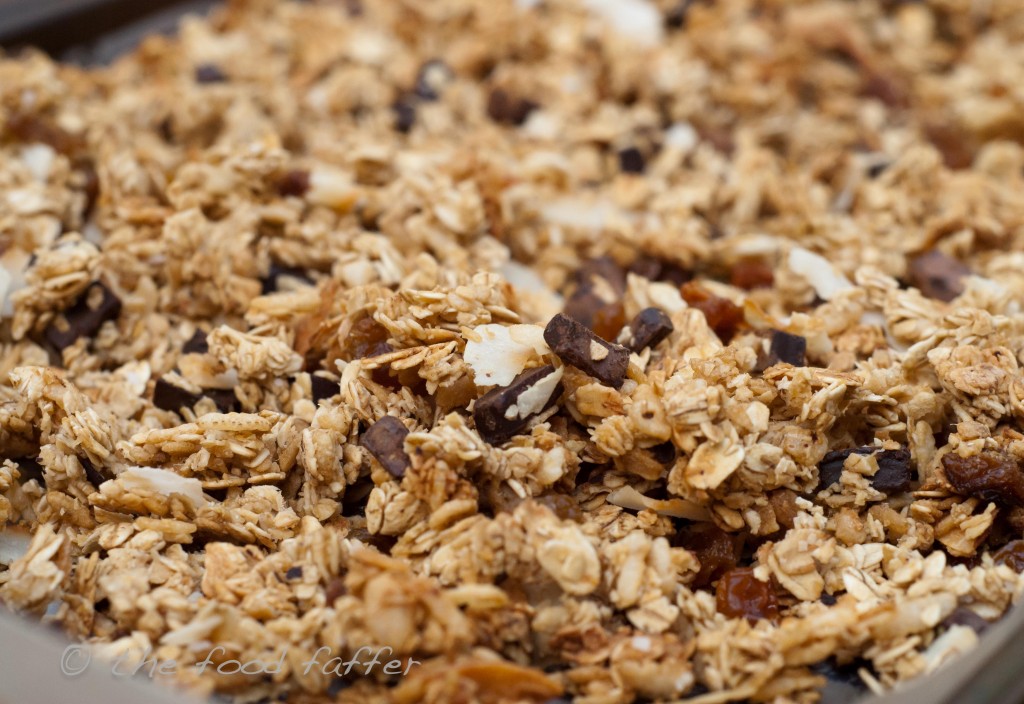
Nut-Free Chewy Granola (makes approx 1 gallon)
(From Gourmande in the Kitchen, with some tweakings…)

2 1/2 cups old fashioned oats
2 1/2 cups quick cooking oats
2 cups Rice Krispies (if you can get the brown rice variety, do it!!)
3/4 cup applesauce
1/2 cup agave nectar
3/4 cup packed light brown sugar
2 tbs vegetable oil
2 tsp vanilla extract
3 tsp kosher salt or sea salt, divided
2 cups dark chocolate, chopped into small chunks
2 cups sultanas or golden raisins
1 cup coconut, shredded or flaked, sweetened or not, toasted or not (there are no rules!!)

  1. Preheat oven to 300ºF and move racks to upper and lower thirds of the oven.
  2. Line two rimmed baking sheets with parchment paper (not foil or wax paper – ask me how I know!!) and set aside.
  3. In a large bowl, combine the two oats and Rice Krispies.
  4. In a smaller bowl, mix together the applesauce, agave, sugar, oil and vanilla until well blended.
  5. Pour the wet mixture into the dry and mix thoroughly to ensure that all the dry ingredients are coated.
  6. Sprinkle 1 pinch of salt over the mixture and stir to combine. Repeat twice more.
  7. Divide the mixture evenly between the two baking sheets. At this point you can either squeeze small clumps of the granola together and space them apart on the cookie sheet to allow air to circulate around them… or you can spread the mixture out in a thin layer and use a scrap of parchment paper to lightly press it down with your hand (this is what I do).
  8. Bake for 20 minutes. Rotate the baking sheets and bake for another 20 minutes or so, until the granola is dry and turning golden. (It will continue to crisp up once it comes out of the oven.)
  9. Allow to cool for 5 minutes… and then tip into a large bowl. Add the chopped chocolate, raisins and coconut and gently turn everything over to evenly distribute the add-ins, breaking up the large chunks of granola as you go. (The raisins tend to soften the granola over time, so feel free to add those later if you prefer.)
  10. Allow to cool completely, then store in an airtight container.

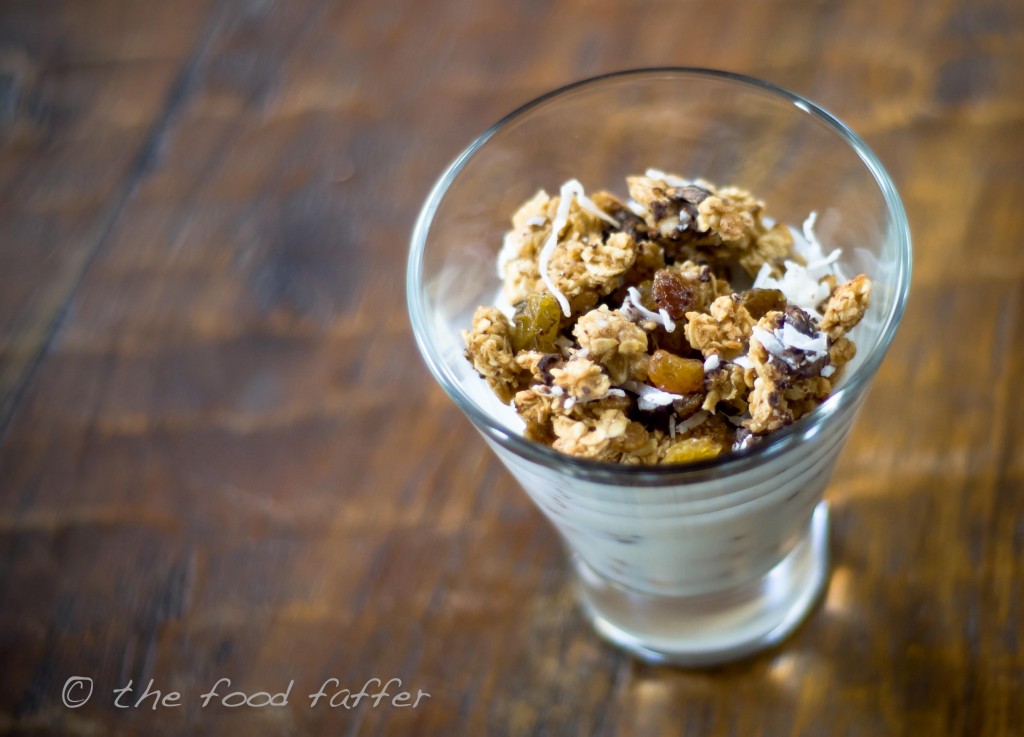
Enjoy on its own, drenched in milk, or sprinkled on fruit, yogurt or ice cream. Yum!!
Sea Salt and Rosemary Crackers

… because what else are you going to do with that leftover pastry?!!

Whenever I make a pie or tart of some description, I always have leftover pastry. I lovingly wrap it in cling film and dutifully stick it in the fridge… and I have every intention of using it. Honestly. I do. But more often than not, it gets shoved to the back of the chilly abyss behind the leftover egg whites, the tub of Philadelphia cooking creme (have any of you tried that fabulous stuff yet??), and the half-sandwich that no one wants to take responsibility for… and I end up feeling guilty as I toss it into the trash a week later.

I have childhood memories of my dad breaking leftover pastry dough into little pieces and tossing it onto the lawn for the birds to eat. Not sure what the deal is with our feathered friends here in the US, but they’ve done nothing but turn their beaks up at my generous offerings. Hence the need to come up with something far more satisfying to use up the doughy remnants…

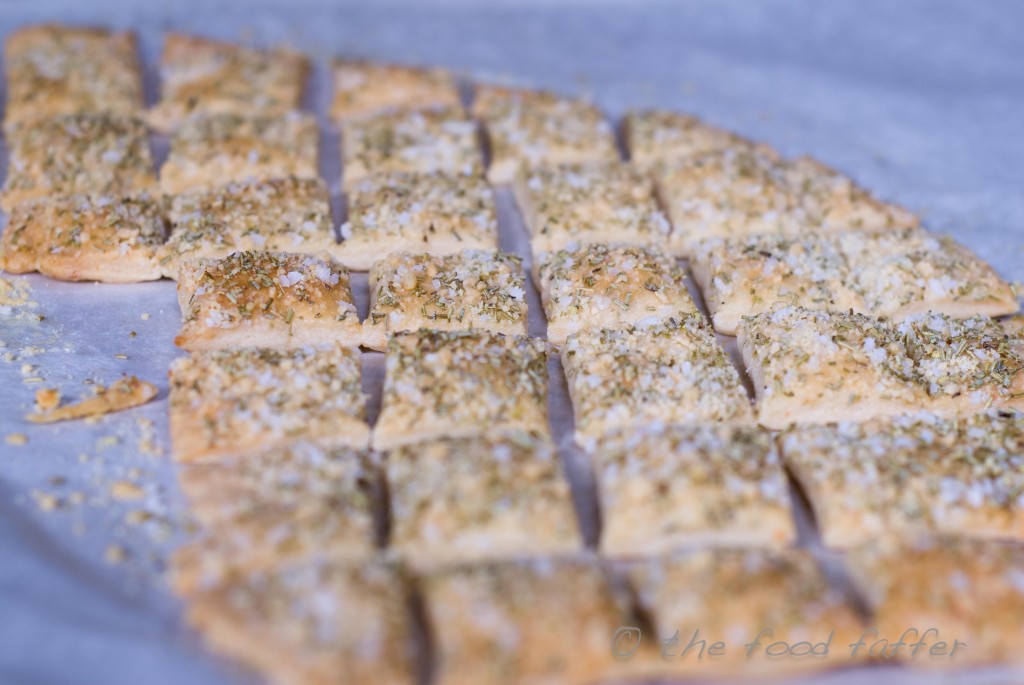
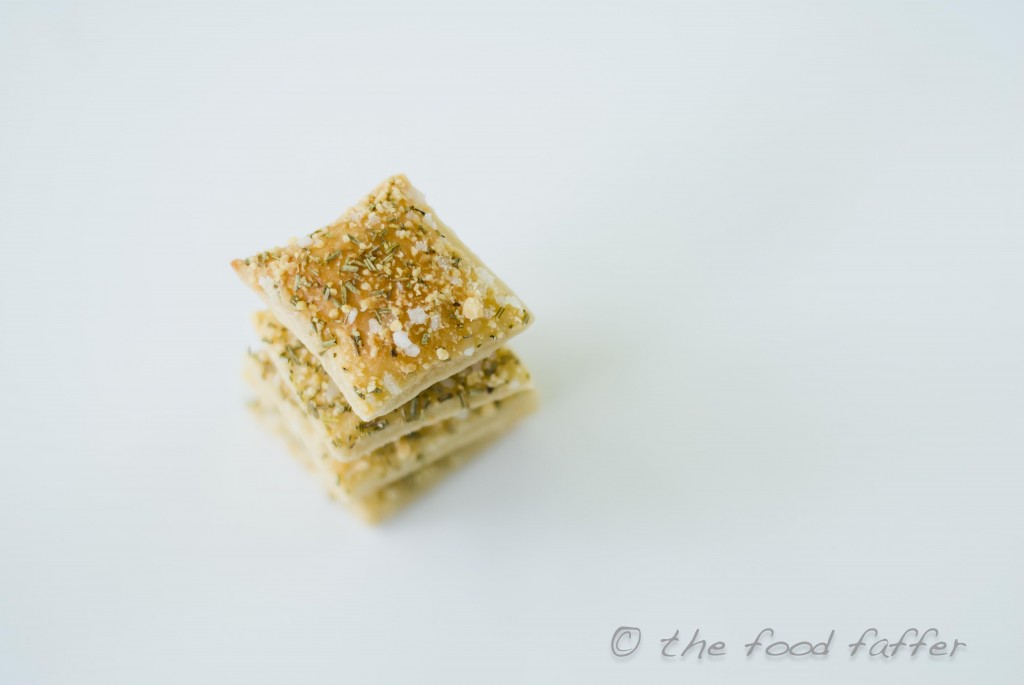
A week or so ago, I made a little somethin’-somethin’ that needed a pastry shell. It was a savory, cheesey pie… so I made my own pastry and added a handful of grated parmesan to the dry ingredients… just because. I was suddenly inspired to roll out the leftover dough, brush it with a beaten egg, sprinkle it with whatever caught my attention, and slam it in the oven for 20 minutes. Woo hoo!! Success!! Yummy while still warm; yummy at room temperature. Yummy dipped in hummus; yummy just as they were.

Between me, Peet and Moeks (mum-in-law, visiting from South Africa), they didn’t last long. And you know what? They were so good, I’d make some pastry for the sole purpose of having a batch of these sitting around!!

Here are some notes that might be helpful…

•  If you only have shop-bought pastry/pie crust in the house, that will totally work. You really need to give these a try. If you’re making your own pastry, try adding a handful of grated parmesan to the dry ingredients for some extra cheesey-ness…

•  Don’t skip on the “beaten egg” part. This gives the crackers a lovely golden color when they’re cooked… but, more importantly, it makes the seasonings stick to the pastry. (I can’t stand it when I buy crackers that have “stuff” on them, but it’s all fallen off in the packet by the time I open them!!)

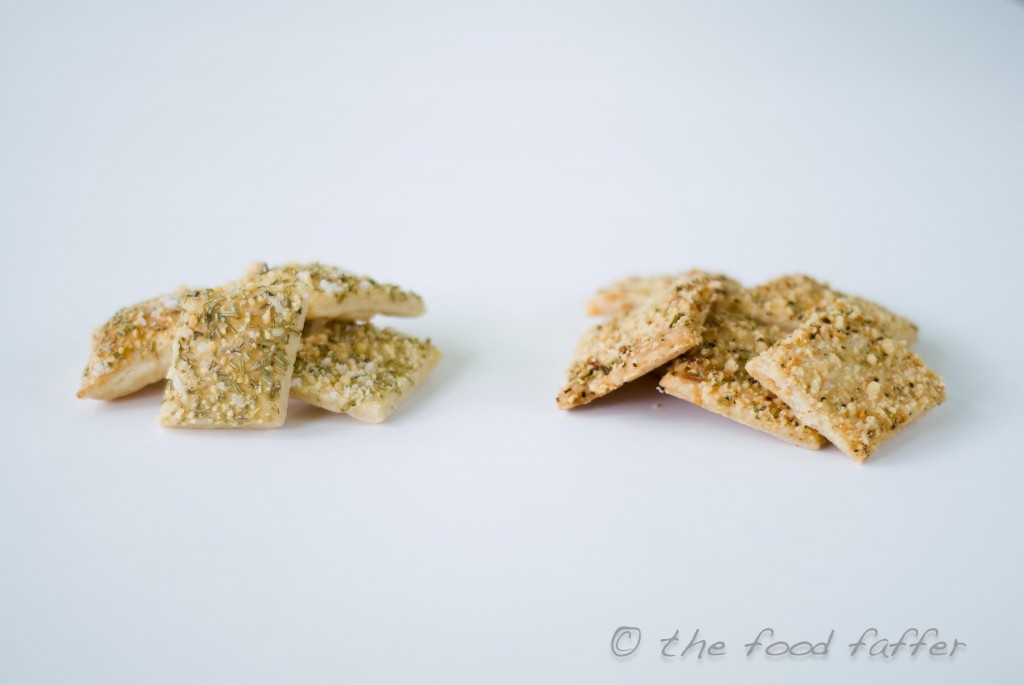
•  You can sprinkle whatever you like on top. Be creative. Peet and I love sea salt and rosemary, so that was my default. But I also made some using one of my favorite seasonings: Tone’s Rosemary and Garlic (I buy mine from Sams, but you can also get it from Amazon and other online stores). How about a sweet version (but maybe leave the cheese out of your home made pastry!!) with cinnamon sugar on top? You get the idea…

•  Cut the uncooked pastry into bite-sized squares after it’s been sprinkled and before you put it in the oven. The pastry will shrink during cooking, which means you have a sheet full of neat and tidy, ready-cut crackers. (If you wait until it’s cooked before cutting, the crackers may crumble in the process.) Using a pizza wheel for this makes life really simple.

This couldn’t be easier…

Sea Salt and Rosemary Crackers

shortcrust pastry (also known as “pie crust”)… not puff pastry
beaten egg
sea salt or kosher salt (not the massive crystals… just the medium ones!)
dried rosemary (I use the crushed stuff to avoid the sensation of twigs in my mouth!)
grated parmesan  

  1. Preheat the oven to 350ºF.
  2. Roll out the pastry on a floured surface until it’s approx 1/8 inch thick, and carefully transfer it to a parchment-lined cookie sheet.
  3. Brush a thin layer of the beaten egg across the whole surface area of the pastry.
  4. Sprinkle a layer of salt across the pastry, followed by a generous sprinkling of rosemary, ending with a light dusting of parmesan.
  5. Using a pizza wheel, cut the pastry into bite-sized squares.
  6. Bake for 20-25 minutes, keeping an eye on them and pulling them out when they’re golden brown on top.
  7. Eat.
  8. Make more. 😀

Oven-Baked Spinach Chips

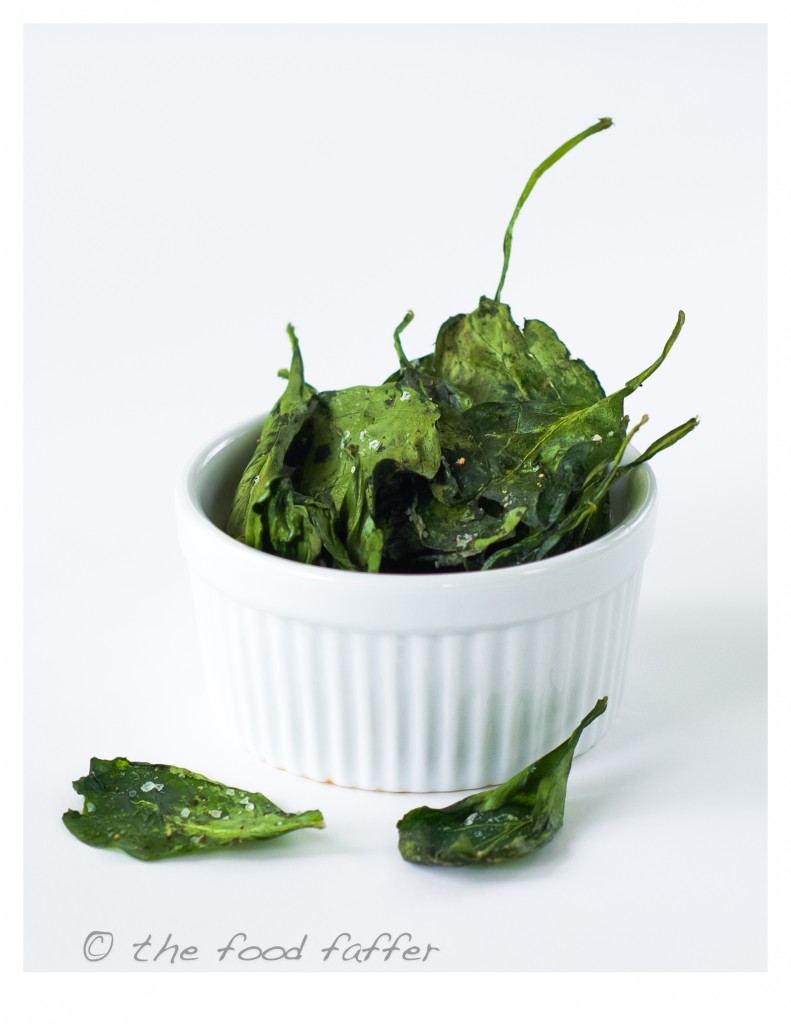
I had Travis and Mackenzie over for crêpes at the weekend. We laid out a variety of fillings, including my favorite palate cleanser of lemon and sugar, and chomped our way through maybe twenty of the things. Yum!! One of the items left over from the feast was fresh baby spinach… and when Travis said he was leaving it here for me to use, I had a fleeting thought that I might try my hand at making chips out of it. So I did!!

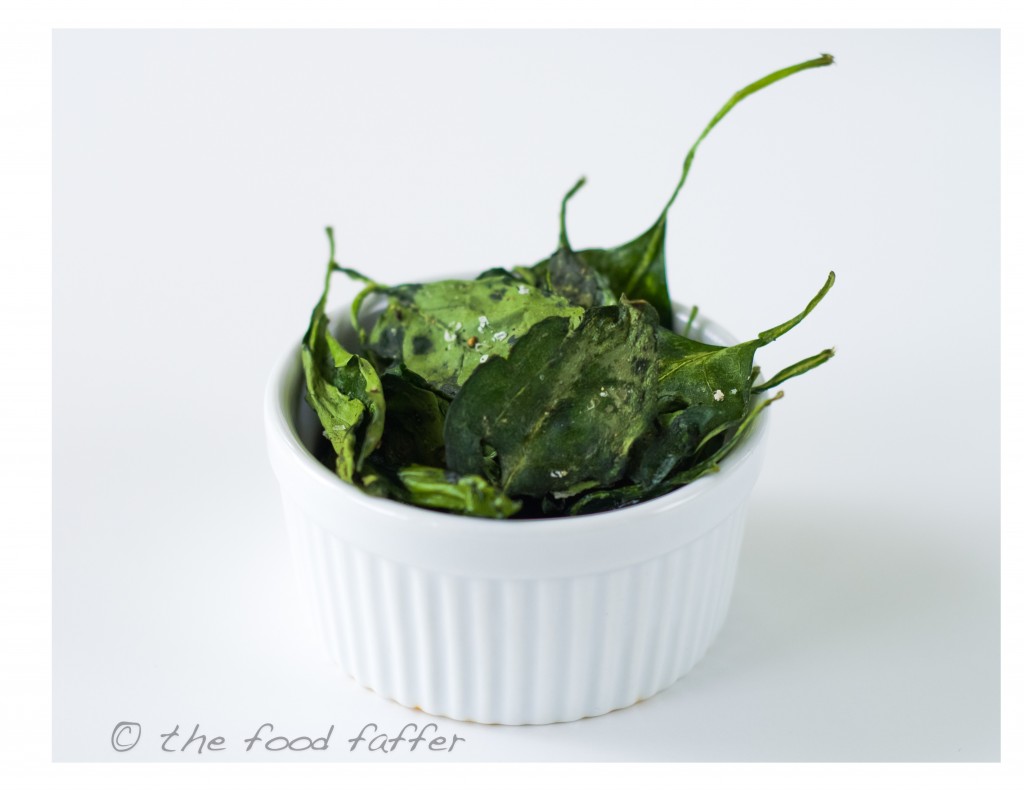
Talk about easy. And scrumptious. I kept these simple, seasoning them with salt and pepper… but you can go to town and flavor them however you like: herbs, garlic powder, red pepper flakes, garam masala, parmesan cheese, blah blah blah.

There’s really not much to it, so here we go…

Oven-Baked Spinach Chips

fresh baby spinach leaves, rinsed and shaken/patted dry
oil of choice (I used sunflower oil, because it’s what I had within reach)
sea salt and fresh black pepper

  1. Pre-heat the oven to 250ºF.
  2. Place the spinach into a large bowl and toss with the oil. (Please be aware that a little oil goes a long way. I had one cookie-sheet’s worth of spinach leaves, and 1 dessert spoon of oil was more than enough!!)
  3. Lay the spinach leaves out in a single layer on a cookie sheet lined with parchment paper. (If you have non-stick foil, that may or may not work here. But the leaves will definitely stick to regular foil and to a naked cookie sheet.)
  4. Sprinkle with sea salt and fresh black pepper.
  5. Bake for 15 minutes, and then check them every 5 minutes after that until they are crispy (mine took around 30 mins).
  6. Allow to cool, then enjoy. Then make some more because you’ll be shocked at how quickly they melt in your mouth and vanish “just like that”!!